Skip to content
 Fly Cutter Guide: What It Is, How It Works, and When to Use It
If you’re looking for a simple yet effective way to achieve ultra-smooth finishes on wide surfaces, a fly cutter might be just what you need. This guide shows you how it works, why it matters, and when it’s your best choice for milling jobs.
Contents
What Is a Fly Cutter?
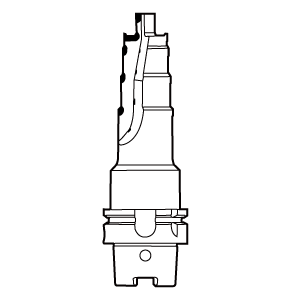
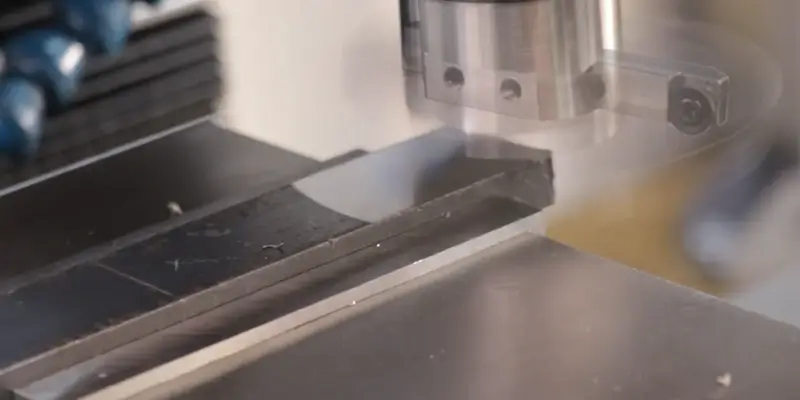
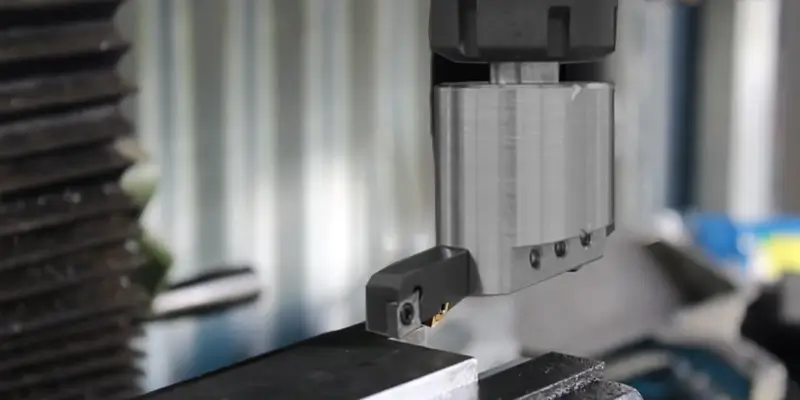
Fly cutters are rotary cutting tools used in sideways motions to machine finished plane surfaces. These tools insert one or more single-point tools (fly cutter bits) into a cylindrical body, mounted on CNC milling machines via special angled holders. When rotating, the bits cut materials from aluminum to steel. Crucially, they apply for mild cutting operations rather than heavy-duty tasks.
How Does a Fly Cutter Work?
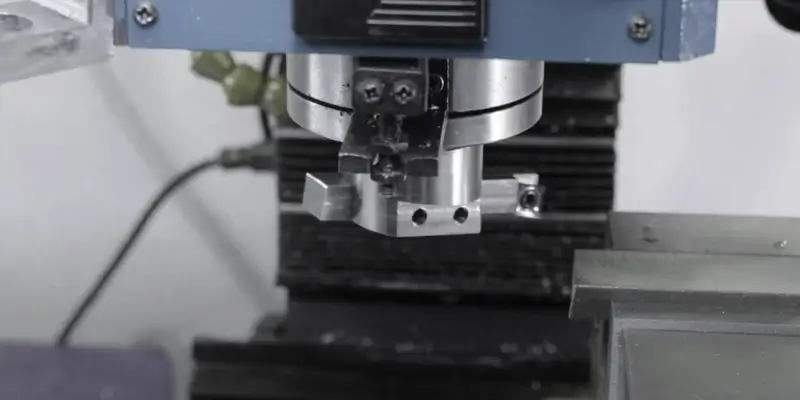
The cutting bit is mounted at a right angle to the spindle axis—nothing too fancy. Once the spindle starts turning, the bit flies around (hence the name), skimming material off with each pass. What’s neat is you can adjust how wide the cut is just by moving the bit farther out or pulling it in.
Speed and depth vary by material. For example:
With aluminum, you might spin it at 1,000 RPM or so, and keep the depth under 0.25 mm.
For mild steel, you’ll want to slow things down—maybe around 400 RPM, and keep it light, say 0.2 to 0.3 mm deep.
The key is balance—go too deep or too fast, and you risk chatter. Too slow, and you burn time for no reason. Some people even use fly cutters to cut thin plastics or stack fabric layers. A bit unconventional, but it works.
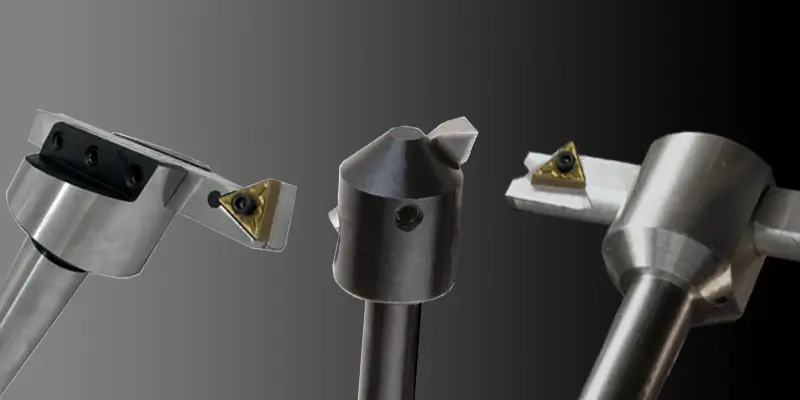
Types of Fly Cutters
Not all fly cutters are built the same—and honestly, that’s a good thing. Depending on your setup and what kind of material you’re working with, you’ll find different styles out there. Some are made for ultra-fine surface finishes, while others lean toward versatility.
Here are a few of the common types you might come across:
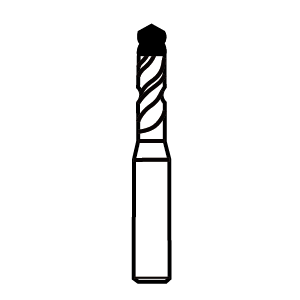
Single-point fly cutter: This is the classic version. It has one tool bit sticking out from the body, usually carbide or HSS, and is great for general-purpose surfacing. It’s easy to adjust, and as long as your machine is rigid enough, you’ll get a mirror-like finish.
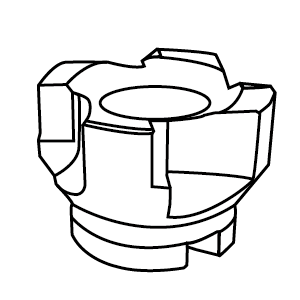
Two-insert fly cutter: Think of this like the twin-engine version. With two cutting edges mounted opposite each other, it balances better at higher RPMs and cuts faster. However, it also needs a bit more spindle power, so it’s not ideal for smaller machines.
Rotary-style fly cutters: These are more specialized. You’ll see them in setups that need cutting, trimming, or even fabric processing. In fact, some high-speed rotary cutters are used to slice through stacked materials—textiles, films, and even carbon composites.
The type you choose really depends on what you’re trying to achieve. If you’re after speed, go dual. If you’re chasing finish quality, stick with the single-point cutter and take your time.
Fly Cutter vs. Face Mill: What’s the Difference?
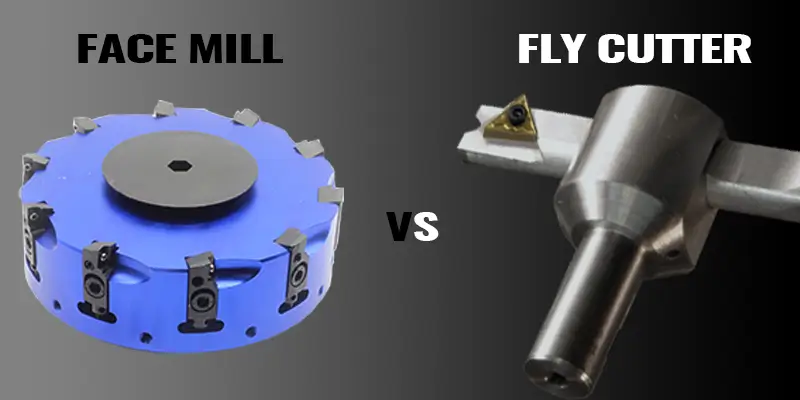
Fly Cutter vs. Face Mill: What’s the Difference?
When choosing between fly cutters and face mills, key differences impact both performance and operational economics:
1. Tool Design & Cost
- Fly Cutters
Utilize 1–2 simple inserts with a minimalist design. This translates to lower initial investment and reduced maintenance complexity. Resharpening costs are typically minimal.
- Face Mills
Require multiple specialized inserts (often 4–8+), resulting in higher upfront costs and ongoing insert replacement expenses.
2. Surface Finish & Precision
- Fly cutters excel in achieving mirror-like finishes (especially on non-ferrous metals) due to controlled single-point contact.
- Face mills prioritize material removal rates but may leave subtle tool marks due to multi-insert height variations.
3. Machine Compatibility
- Fly cutters operate efficiently on standard workshop mills (including older or lower-power machines).
- Face mills demand high-rigidity setups with robust spindle power to leverage their full potential.
4. Application Flexibility
- Fly cutters adapt well to: Warped or uneven surfaces; Custom toolpath adjustments ;Low-volume precision jobs
- Face mills suit: High-volume production runs; Aggressive stock removal; Stable, flat workpieces
5. Operational Nuance
- Fly cutter advantage: Easily modify cutting geometry by regrinding/repositioning inserts.
- Face mill limitation: Insert replacement often requires recalibration.
When to Use a Fly Cutter
So, when does a fly cutter actually make sense? In short—it’s your go-to when you need a flat surface and you care about the finish more than the speed.
Let’s say you’re working on a small batch of parts where cosmetic quality really matters. Maybe you’re surfacing a large aluminum plate or squaring up a mild steel block. A well-set fly cutter will give you that smooth, uniform finish with fewer tool marks than a face mill might leave. Plus, it’s a solid choice if you don’t want to invest in multi-insert tooling just to clean up a few parts.
You’ll also find them useful when your machine isn’t that powerful. Unlike face mills that demand more spindle torque, a single-bit fly cutter keeps things light—and that matters on hobby machines or older vertical mills. It’s slower, sure, but the results are worth the extra time, especially when you’re chasing flatness within a few microns.
Tips for Safe and Efficient Operations
Using a fly cutter might seem straightforward—but if you’ve ever heard one chatter across a steel plate, you know there’s more to it than just spinning and cutting.
Here are a few real-world tips to keep things smooth and safe:
Keep the bit sharp. A dull edge doesn’t just ruin surface finish—it can also cause vibrations, increased cutting pressure, and premature wear on your spindle bearings.
Balance matters. If your cutter has more than one bit (or even just one sticking way out), make sure it’s balanced before hitting higher RPMs. An unbalanced fly cutter at speed isn’t just noisy—it’s dangerous.
Go easy on depth. It’s tempting to take a heavy pass to save time, but fly cutters really don’t like that. Shallow cuts (under 0.3 mm) give the best results, especially on tougher materials like steel.
Listen to the cut. Often, you’ll hear when something’s off before you see it. A clean, steady tone is what you want—anything squealing or rattling means it’s time to stop and check alignment, speed, or sharpness.
Efficiency comes from patience and setup. With the right speeds, feeds, and rigidity, even a simple fly cutter can produce mirror-like finishes that rival high-end tooling.
Conclusion: Strategic Tool Selection with SUNDI
Let’s face it—fly cutters aren’t the flashiest tools in the shop. But when it comes to getting a flat, clean finish without needing a dozen inserts or a fancy face mill, they quietly get the job done.
We’ve seen all kinds of setups—small bench-top mills, big CNC beds, even hybrid machines. And no matter the scale, a good fly cutter still holds up. It’s not about cutting fast. It’s about cutting right.
At SUNDI, we try to keep things simple: understand what you’re making, choose a cutter that fits your machine, and get a finish that doesn’t need post-processing. Whether you’re working with aluminum, steel, or something in between—we’ll help you pick a tool that works, not just one that sells.
FAQ: Fly Cutters
Q: Can I use a fly cutter on steel?
You can, but you’ve got to respect its limits. Keep your RPM low, use a carbide bit, and don’t push it too deep—0.3 mm is already on the heavy side for steel. And if your machine vibrates easily, it’s probably better to take even lighter passes.
Q: What’s a good speed for cutting aluminum with it?
Depends on your cutter size and machine, honestly. For something mid-sized, around 1,000 RPM usually works fine. You’re not trying to rush—just skim the surface cleanly. Lighter cuts help reduce tool marks too.
Q: Why am I getting chatter every time I use it?
Could be a few things. Dull insert? Tool sticking out too far? Machine not rigid enough? Fly cutters like everything tight and sharp. Try lowering the speed or adjusting how far the bit sticks out. Sometimes even just re-clamping the part helps.
Q: Can I change how wide it cuts?
Yes—you just slide the cutter bit out more (or less) in the holder. That’s actually one of the reasons people like fly cutters: you don’t need a different tool for every diameter. Just don’t go too wide unless your setup can handle it.
Q: Safe for beginners?
Mostly, yes. Start slow, keep cuts shallow, and watch what the tool is telling you. If it starts squealing or bouncing, stop and rethink things. With some care, fly cutters are pretty forgiving.