Skip to content
 What Is Reaming? A Complete Guide to Reaming in Machining
Reaming is a key step in precision machining. It improves hole accuracy, roundness, and surface finish after drilling. This guide explains how reaming works, when to use it, and how to get the best results in your shop.
Contents
1. What Is Reaming and why it matters in Machining
sometimes, after drilling, a hole just isn’t good enough. it might be slightly too small, or the surface inside might feel rough to the touch. that’s where reaming steps in—not to fix a mistake, but to refine what’s already close.
Reaming is all about precision. the process uses a tool called a reamer to lightly cut and smooth the walls of a hole, bringing it to the exact size needed. it removes a minimal amount of material—just enough to improve roundness, diameter, and surface quality.
in industries like aerospace, medical devices, and high-precision tooling, a reamed hole often makes the difference between a part that fits—and one that doesn’t.
2. how reaming works in metalworking
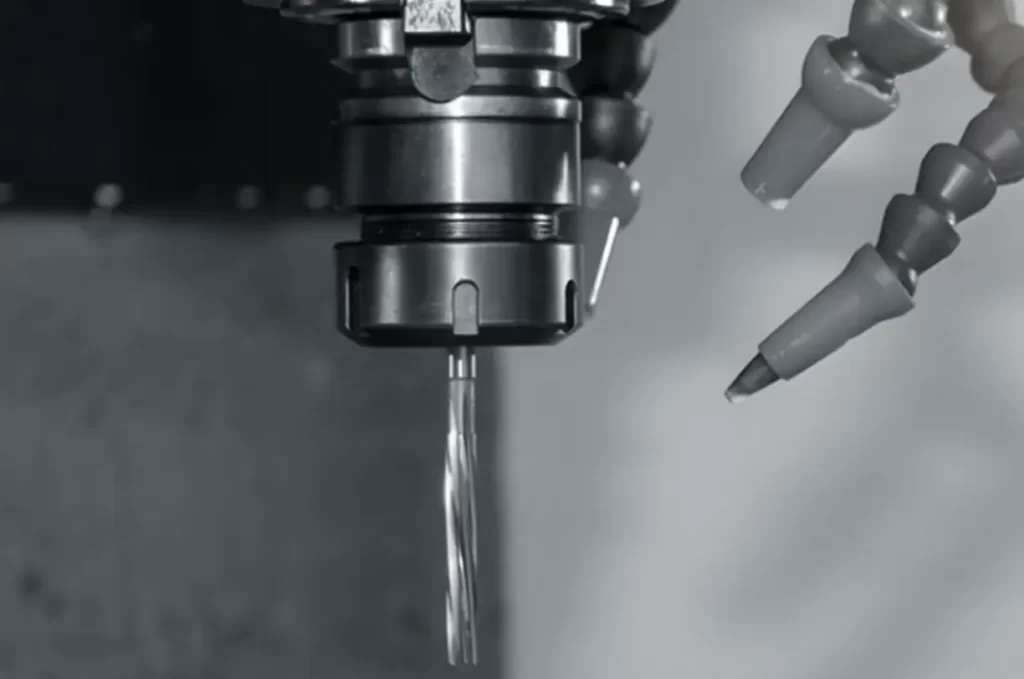
here’s how the process flows: first, you drill a hole that’s intentionally undersized. the reamer then enters that pre-cut hole, cutting only a small amount on each pass of its multi-edge design. it doesn’t dig—it skims, shaping the final diameter more precisely than most drills can manage.
Reaming won’t correct a bad hole. if the initial drill wandered or tilted, the reamer will follow that path. that’s why accuracy in the first step matters so much.
speeds and feeds? Lower rpm than drilling—about half—and a slightly higher feed rate. the reamer cuts best when it moves steadily through the material without stalling or rubbing.
for a detailed comparision between drilling, boring, and reaming, check our full article: Drilling vs. Boring vs. Reaming
3. When to use reaming: typical applications
Reaming is used when a hole needs to meet strict tolerances, usually tighter than ±0.01mm. it’s not about bulk material removal—it’s about refinement.
Common application include:
Installing dowel pins with zero play
Seating bushings or bearings accurately
Mold base with repeatable alignment
Internal holes that require low friction or sealing
Any assemblies requiring smooth, clean bores
If a hole needs to be right every time, reaming usually the go-to.
4. how to ream a hole: step-by-step guide
Want a clean, precise hole? follow this sequence:
1. drill undersized
Leave 2–4% material for the reamer to cut. For a 10mm final size, drill to about 9.7–9.8mm.
2. secure the workpiece
Clamping is essential. Even minor movement can affect the hole quality.
3. choose the right reamer
Use HSS for general materials, carbide or pcd for harder or more abrasive ones. A sharp tool makes a big differences.
4. apply lubrication
Use oil or coolant to keep things cool and prevent chips from scratching the finish.
5. adjust speed and feed
Cut spindle speed to half that of drilling. Increase feed slightly to keep a steady cut.
6. one smooth pass
Start the cut, move through without stoping, and retract only after full exit. No reversing.
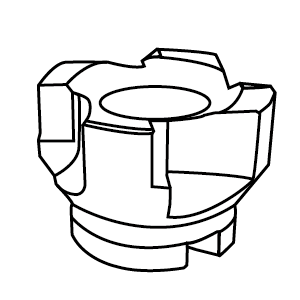
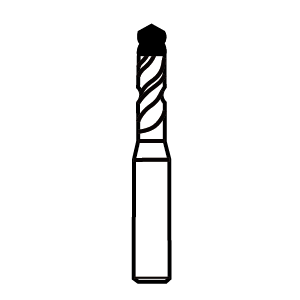
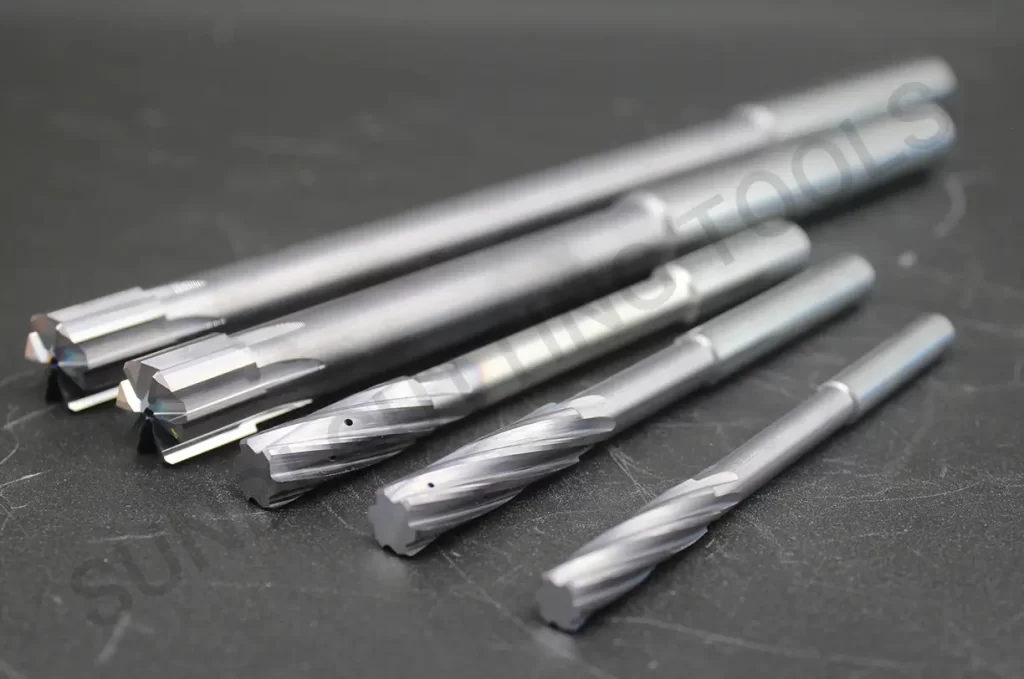
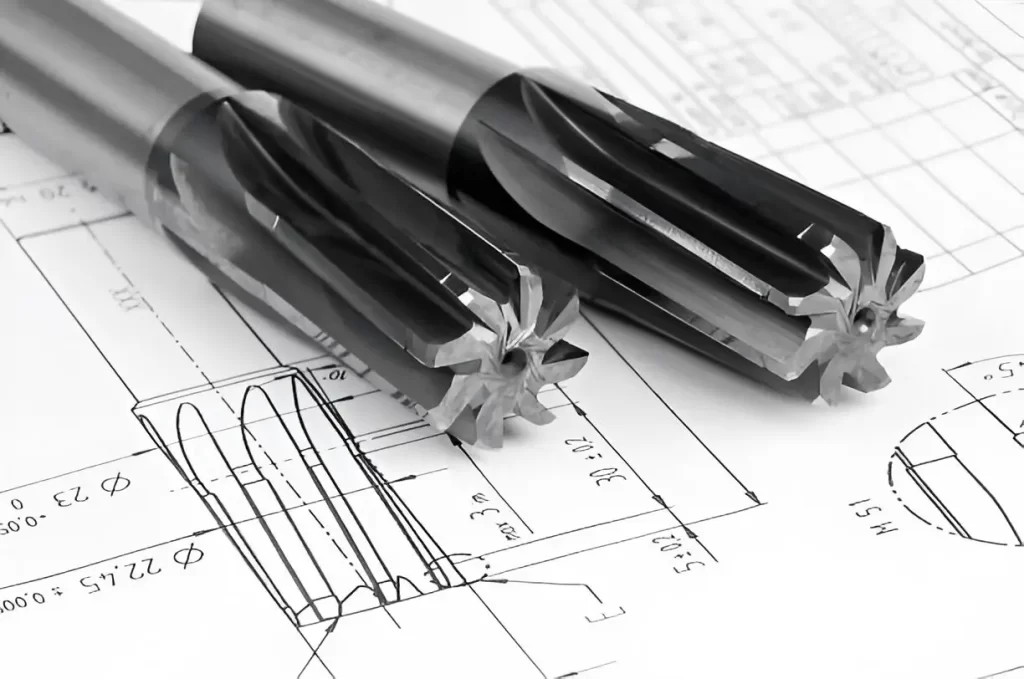
5. types of reamers and their applications
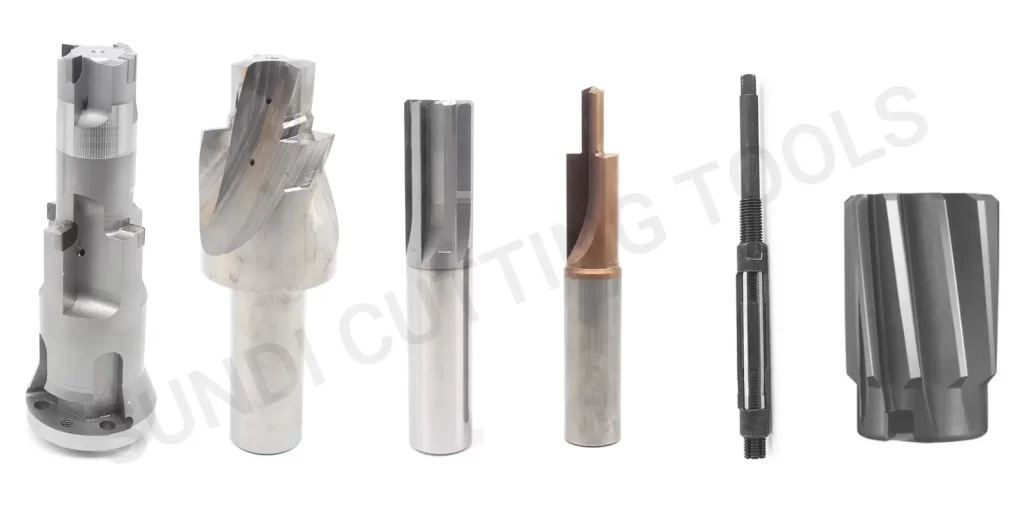
Different materials, holes, and production volumes call for different reamers:
Straight flute reamers – Simple, effective for through-holes.
Spiral flute reamer – Better for blind holes and softer materials.
carbide reamers – Great for tough metals and tight tolerances.
pcd reamers – Ideal for non-ferrous materials and composites.
shell reamer – Best for large bores with replaceable heads.
Adjustable reamer – Useful when exact diameter control is needed.
Each type have it’s place. Choosing depend on job needs.
6. Common issue in reaming (and how to avoid them)
Reaming isn’t foolproof. Here’s what can go wrong—and how to prevent it:
Hole too big or small – Usually caused by wrong pre-drill size or tool flex.
Rough surfaces – Often due to dull tools, low feed, or dry cut.
Chatter or vibrations – Happens with poor fixturing or unstable setup.
Bell-mouthing – Caused by starting/stopping mid-cut or loose clamping.
Prevent these issue with careful prep and steady technique.
7. best practices for better reaming result
Here’s what experienced machinist pay attention to:
Keep reamer sharp—dull tools cause more trouble than they’re worth.
Use firm, short tool holding to reduce deflection.
Don’t pause or reverse mid-cut.
Adjust coolant type depend on material.
Leave the right amount of stock for the reamer to work effective.
Small detail lead to big differences in final result.
8. Choosing the right reamer
Not all reamers are created equal. Selection depend on:
Material being cut – Hard metals need tougher tool.
Hole size and tolerance – Tight specs need higher-end tooling.
Production quantities – For large run, tool life matters.
Cost vs. performance – Sometimes an adjustable reamer makes more sense than custom carbide one.
If unsure, test or consult with tool partner.
9. Conclusion and support
Reaming often flies under radar, but it’s essential when accuracy and finish are non-negotiable. whether it’s one hole or thousand, a good reaming setup can save time, reduce scrap, and ensure quality.
At Sundi precision tool, we provide wide range of reaming tools—including carbide, PCD, and customize solution.
Got question or tricky hole to finish? our pre-sale team is here to help you find the right reamer for job.