Skip to content
 How to Make a Countersink Hole in Metal
In the world of metalworking, engineering, and machining, what sets the amateur apart from the professional lies in the details of finishing. Irregular finishes such as a protruding screw head can look grossly unprofessional, creating an uneven surface. The solution to this is to employ a precise, clean technique known as countersinking.
What is Countersinking? The Basics
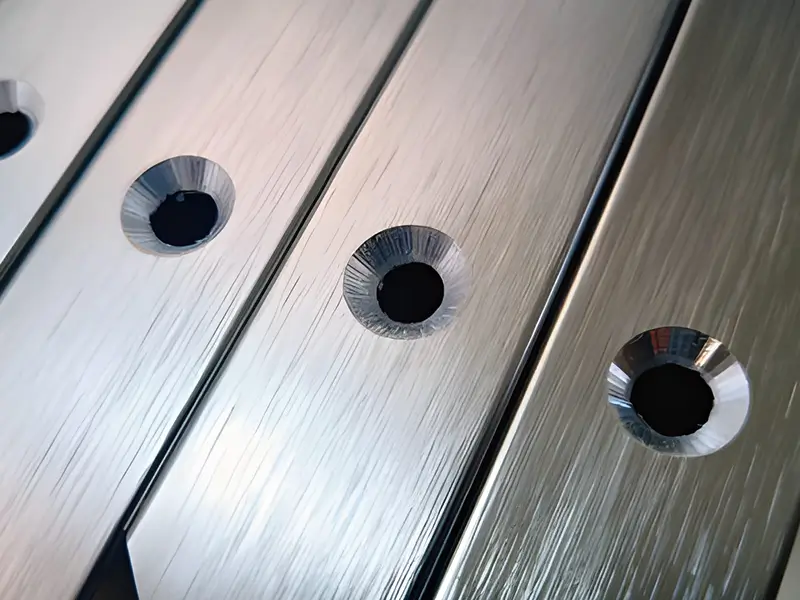
Fundamentally, countersinking is the process of cutting a conical recess, or chamfer, around the opening of a drilled hole. This tapered, cone-shaped hole is designed to perfectly match the angled shape of the bottom of the head of a fastener (such as a flathead screw), ensuring it is able to sit perfectly flush or slightly below the surface of the material.
However, to achieve that perfect, flush finish, it isn’t enough to just use a larger drill bit. The process requires more precision, using the right tools, and maintaining accurate angles. Most importantly, you must have a clear knowledge of the steps involved in the countersinking procedure.
If you are a seasoned machinist, a procurement manager, or a metalworking shop owner looking for the best technique to achieve ultimate counter sinking in metal, then you are in absolute luck. In this article, we will guide you through all that you need to know about countersinking a hole for a flawless, professional result.
Gearing Up: What Tools do I Need for Countersinking?
Using the right tool for the job is essential to achieving the desired results, and not just that, it also helps to ensure premium consistency. Depending on the scope and precision of the project, we have made several tools options available:
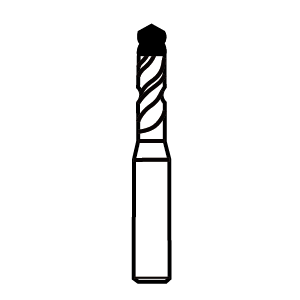
Countersink Bits (or Countersinks)
These are the most common tools for this operation. Countersink bits or countersinks are specialized cutting bits, engineered specifically for creating the conical recess. They are available in a wide range of materials and geometries.
With regards to material, High-speed steel (HSS) is great for general use in aluminum and mild steel, while cobalt and solid carbide tips are perfect and a must when dealing with harder materials like stainless steel.
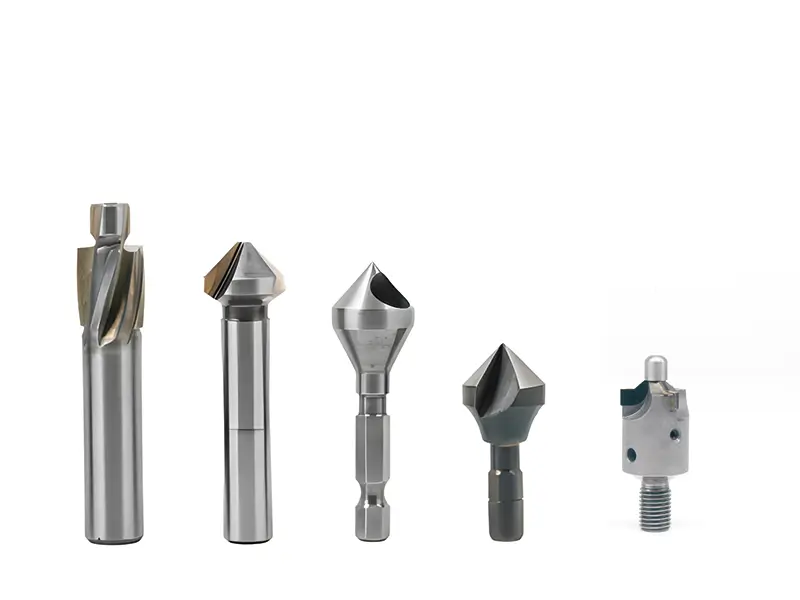
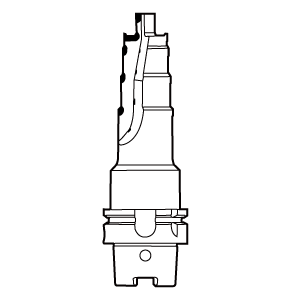
Combination Drill and Countersink Bits
Often called venter drills, these dual-purpose tools drill the pilot hole and create the countersink in a single operation. They are exceptionally efficient and ideal for production environments where speed and consistency is required.
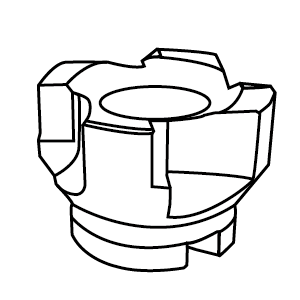
Adjustable Countersink Cutters and Cages
For high-precision applications, such as in the aerospace or automotive industries, these tools allow you to set a precise cutting depth. A cage surrounds the cutter and stops rotating when it comes into contact with the workpiece. This ensures that every countersink is identical, perfect for CNC machining and assembly lines with quality control.
How to Countersink a Hole: The Step-by-Step Process
To achieve a perfect countersink at all times, there are simple, straightforward set rules and steps that need to be taken meticulously to achieve certain milestones in our projects. For the purpose of this particular guide, we will assume you’re using a standard drill and a separate countersink bit
Step 1: Drill the Pilot Hole
Countersinking requires a pilot hole. The pilot hole is the initial hole. It must match the body (shaft) of the screw, not the thread.
- Select the Right Drill Bit: Choose a drill bit that has the same diameter as the screw shaft. For a #8 screw, you have to use a #8 pilot hole drill bit.
- Secure the Workpiece: The metal must be kept absolutely still while you drill. Use a vise or sturdy clamp to hold the material down to a workbench or drill press table. Avoid holding the workpiece with your bare hands.
- Mark Your Spot: with the aid of a center punch, create a small indentation at the exact spot you wish to drill the hole. This will help stop the drill bit from wandering or shifting once you start to drill.
- Drill the Hole: while you keep the drill perfectly perpendicular to the surface of the metal, drive the pilot hole into the material. Using a cutting fluid suitable for the metal you are working on will result in a smoother cut and longer drill bit life.

Step 2: Select the Correct Countersink Bit
Now replace the drill bit with your choice of countersink bit. Selecting the right countersink bits mainly depends on two factors: angle and diameter.
- Match the Angle: you ought to use an 82° bit for standard screws, and a 90° bit for metric screws. Using the wrong angle will result in an improper fit, where the screw only contacts the top or bottom edge. What this will give you is a weak connection.
- Match the Diameter: The countersink bit must be a little bit larger than the screw head. Use a caliper to measure the outer diameter of the screw head, then choose a countersink bit with a diameter equal to or slightly larger than the screw head measurement you got.
Step 3: Set Your Drill and Adjust for Depth
Understand that precision is key, so you must only cut material enough for the screw head to fit and sit flush, not more.
- Set Your Drill Speed: Countersinking should be done at a low speed. Higher speeds will definitely generate excessive heat, which will cause the bit to vibrate. If this happens, the finishing will be rough and uneven.
- Insert the Bit: Securely fit the countersink bit into the drill chuck.
- Set the Depth (Optional but Recommended): For repeatable results, use a drill with a depth stop or a specialized countersink. If you don’t have one, you will have to work with extreme care and keep checking your progress at intervals. A good starting point for a depth gauge is around 4mm, but this still depends entirely on the size of the screw head.
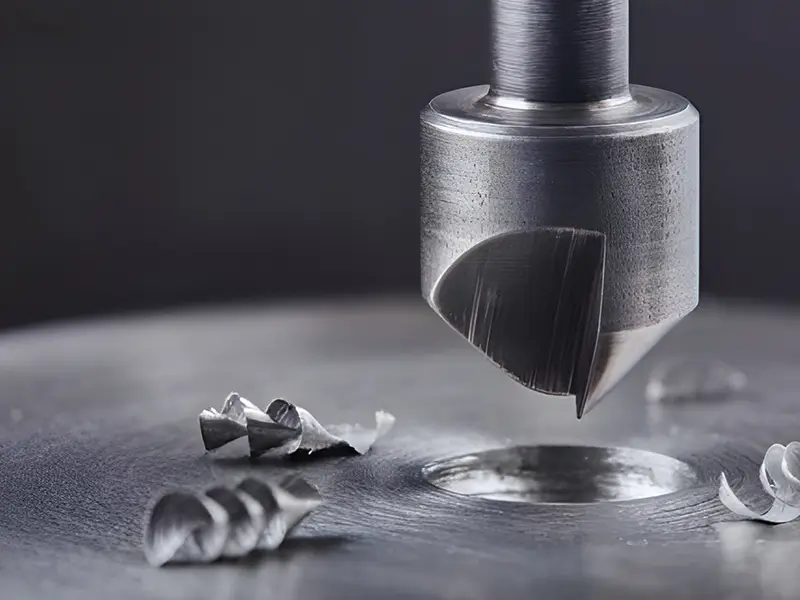
Step 4: Drill the Countersink Hole
This phase of the process is where the actual action takes place.
- Apply Cutting Fluid: Add one drop of cutting fluid into the pilot hole.
- Start Cutting: Place the tip of the countersink bit into the pilot hole. Start the drill at low RPM and apply firm, constant, and uniformly spread pressure. Now let the tool do the work.
- Check the depth: drill for a second or two, then retract the bit and remove the metal shavings. Take the screw and check how tight it is. The goal is for the top of the screw head to be perfectly at the same level as the surrounding metal.
- Adjust as needed: If the screw still protrudes, cut a little deeper. If you’ve cut too deep and potentially created a gap around the screw head, it means you’ve cut too much. It’s always better to cut a little and check for people’s grease often than to cut too much at once.
Step 5: Inspect and Deburr
Once the screw is perfectly level, the task is nearing completion. Take a look at the edge of the hole for any small burrs or rough edges. Use a hand deburring tool or file to gently remove them to give a clean, professional finish.
Choosing the Right Bit Material for Your Project
It is crucial to choose the right countersink bit material, as this will greatly affect the performance, finishing, and longevity of the tool. This factor is often a key consideration for any professional workshop.
For your convenience, we have prepared an easy-to-understand table to guide you through how to choose the right bit material for your project.
Bit Material | Best For | Pros | Cons |
Carbide (Tungsten Carbide) | Ideal for every Metal, not excluding Abrasive Materials | Extreme hardness and wear resistance, provides the longest tool life and best finish. | The more expensive option, very brittle and can chip if not handled correctly |
High-Speed Steel (HSS) | Aluminum, Mild Steel, Brass | Cost-effective, good for general-purpose use. | Tends to wear quickly in harder materials; not recommended for high-volume production. |
Cobalt (e.g., M42) Stainless Steel, Hardened Steels | Stainless steel and other heated steels | Excellent heat resistance, stays sharper longer than HSS in tough materials. | Costlier than HSS, yet more brittle. |
PCD (Polycrystalline Diamond) | High-Silicon Aluminum, Carbon Fiber (CFRP), Fiberglass, and lots more. | PCD countersinks are extremely wear-resistant. In the right application, PCD is capable of outliving carbide up to 100x. This is the ultimate countersink bits material for higher cutting speeds. | PCD much more expensive than the other materials, although it can be cost-effective in the long run. It is not ideal for use on ferrous materials. |

What are the Common Countersink Hole Sizes for Various Angles?
Below is a table to serve as a general guideline for different screw sizes in the common countersink angles, that is, 82⁰, 90⁰, and 100⁰.
82⁰ Countersink Dimensions
Screw Size | Drill Size | Body Diameter | Depth |
#4 | 1/8” | 0.332″ | 0.123″ |
#6 | 9/64” | 0.373″ | 0.139″ |
#8 | 5/32” | 0.415″ | 0.155″ |
#10 | 3/16” | 0.457″ | 0.170″ |
¼” | 1/4” | 0.582″ | 0.217″ |
5/26” | 5/16” | 0.665″ | 0.248″ |
90⁰ Countersink Dimensions
Screw Size | Drill Size | Body Diameter | Depth |
#4 | 1/8” | 0.348″ | 0.123″ |
#6 | 9/64″ | 0.391″ | 0.196″ |
#8 | 5/32″ | 0.435″ | 0.217″ |
#10 | 3/16″ | 0.478″ | 0.239″ |
¼” | 9/32″ | 0.609″ | 0.305″ |
5/26” | 5/16″ | 0.696″ | 0.348″ |
100⁰ Countersink Dimensions
Screw Size | Drill Size | Body Diameter | Depth |
#4 | 7/64″ | 0.103″ | 0.123″ |
#6 | 9/64″ | 0.431″ | 0.196″ |
#8 | 5/32″ | 0.475″ | 0.217″ |
#10 | 3/16″ | 0.521″ | 0.239″ |
¼” | 9/32″ | 0.660″ | 0.305″ |
5/26” | 5/16″ | 0.752″ | 0.348″ |
Conclusion
Countersinking is beyond just a finishing touch: it’s a sign of quality craftsmanship that enhances the safety, functionality, and aesthetics of a finished product. To achieve a perfect countersink, it is necessary to follow a methodical process. From drilling a precise pilot hole, to selecting tools suitable for the material and fastener. Sundi Tools offers high quality PCD countersinks with solid carbide pilot, ensuring your project comes out as superior as technologically achievable.
Do not allow poor-quality tools to compromise your hard work. Opt for premium precision today. You can take a look at our catalog of industrial-grade HSS, cobalt, and carbide countersinks.