Zum Inhalt wechseln
 Vollständiger Leitfaden zu Ausdrehwerkzeugen: Funktionsweise und richtige Anwendung
Du arbeitest mit Präzisionsbohrungen? Dann kennst du Bohr-, Reib- und Ausdrehwerkzeuge – das Rückgrat der mechanischen Bearbeitung. Aber mal ehrlich: Ausdrehen klingt langweilig? Es ist die anspruchsvollste aller Techniken!
Warum? Während andere Werkzeuge mehrere Schneiden oder feste Größen nutzen, setzt das Ausdrehen auf eine einzige Schneide, um enge Toleranzen wie H7 oder H6 zu erreichen – Präzision im Mikrometerbereich.
Klingt heftig? Ist es auch. Aber wenn du es richtig machst, bearbeitest du Bohrungen glatter als ein Lehrenblock. Willst du das meistern? Dann bleib bei uns – wir erklären, wie Ausdrehwerkzeuge funktionieren, wann man sie einsetzt und wie man sie wie ein Profi auswählt.
Inhalt
Was sind Ausdrehwerkzeuge?
Du musst ein Loch in Größe oder Oberfläche anpassen? Genau dafür sind Ausdrehwerkzeuge gemacht – dein Werkzeug der Wahl für präzise Bohrungsbearbeitung. Sie dienen dazu, bestehende Bohrungen zu vergrößern, verfeinern oder formen – mit beeindruckender Genauigkeit.
Solche Werkzeuge haben in der Regel eine oder zwei Schneiden, die den Großteil der Arbeit erledigen. Egal ob Grobbearbeitung, Vorschlichten oder spiegelglatte Endbearbeitung – es gibt immer das richtige Ausdrehwerkzeug. Und keine Sorge: Sie funktionieren auf der Drehmaschine, Fräsmaschine oder auf einer speziellen Ausdrehvorrichtung.
Ist ein Loch etwas zu klein oder rau innen? Nimm ein Ausdrehwerkzeug – das ist wie ein zweiter Glanzmoment für das Loch.
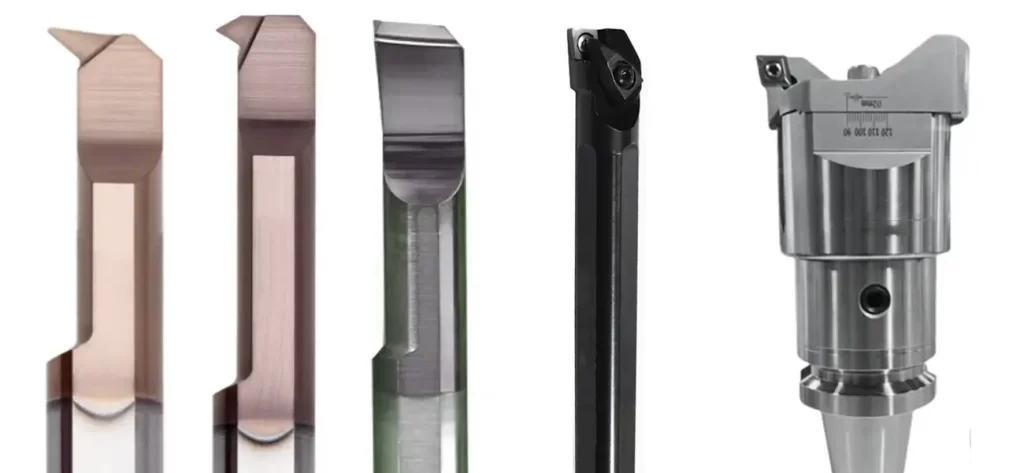
Gängige Arten von Ausdrehwerkzeugen
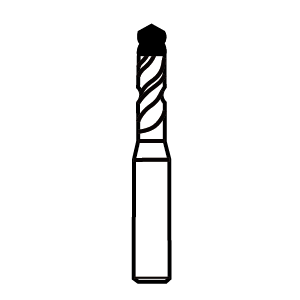
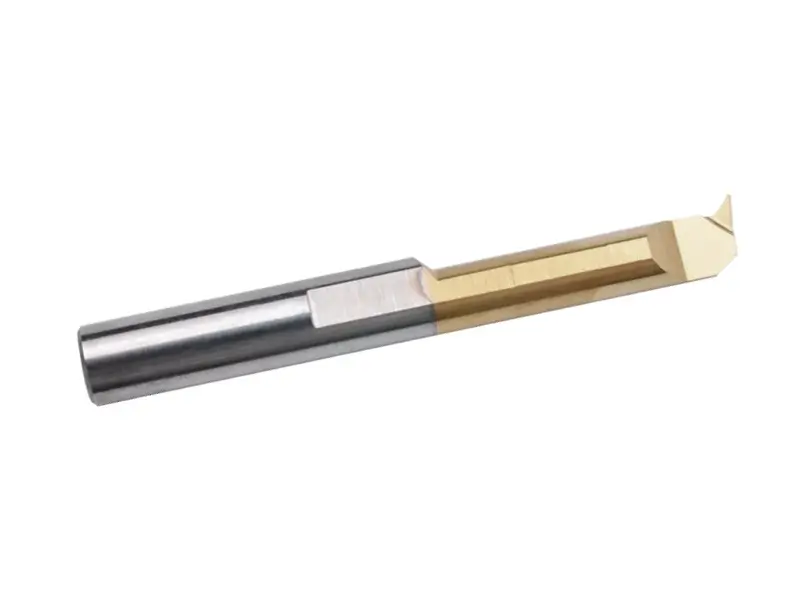
Ausdrehwerkzeug mit einer Schneide
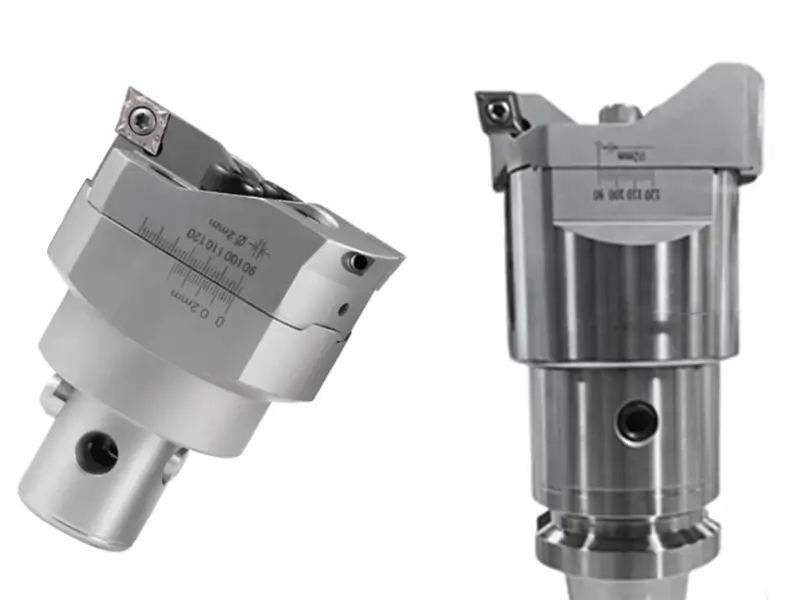
Stell dir vor: eine Schneide, ähnlich wie dein Drehmeißel, aber feinjustiert für präzises Bohrungsarbeiten. Genau das ist das Ausdrehwerkzeug mit einer Schneide. Warum verwenden? Wenn du höchste Genauigkeit in der Lochgröße brauchst – während das Werkstück noch eingespannt ist.
Das Geniale: Es besitzt ein Stellrad mit feinen Skalenstrichen. Dieses Rad und die Spindel des Werkzeugs arbeiten wie ein Präzisionsgewinde – extrem enge Toleranzen. Drehe am Rad, und die Schneide bewegt sich vor oder zurück entlang einer Führung. Was bedeutet das für dich? Steuerung bis auf 0,001 mm direkt an der Maschine. Kein Werkzeugwechsel nötig. Du passt das Loch direkt im Prozess an.
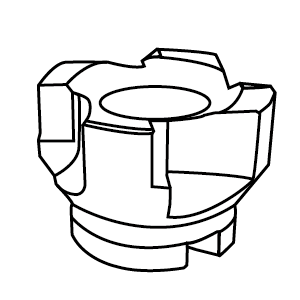
Verstellbare Ausdrehwerkzeuge mit Doppelschneide
Willst du schneller Metall abtragen? Dann sind Ausdrehwerkzeuge mit zwei Schneiden genau das Richtige. Zwei Schneiden arbeiten gleichzeitig — exakt gegenüberliegend. Diese Symmetrie gleicht radiale Kräfte aus, reduziert Vibrationen und minimiert Rattern. Weniger Lärm = höhere Vorschub- und Schnitttiefen. Ergebnis: schnellere Bearbeitung und glattere Oberflächen.
Die beiden Varianten:
- Schwimmende Ausdrehwerkzeuge: Zentrieren sich selbst. Wie Reibahlen — perfekt für enge Toleranzen und glatte Bohrungen. Gleichen kleine Fehlstellungen aus. Kein Nachjustieren nötig.
- Feste Ausdrehwerkzeuge: Feste Einspannung. Ideal, wenn deine Maschine bereits exakt justiert ist und maximale Stabilität gefragt ist.
Wie man das richtige Ausdrehwerkzeug auswählt
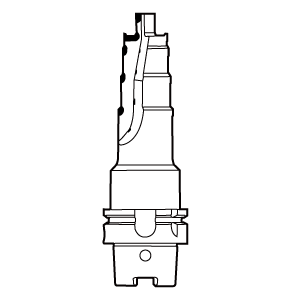
Werkzeugrotation
Wenn du Ausdrehwerkzeuge in einem Bearbeitungszentrum einsetzt (wo das Werkzeug rotiert), brauchst du präzise Einstellmöglichkeiten. Achte auf Werkzeuge mit Feinjustierung oder automatischem Ausgleich – so kannst du direkt an der Maschine Anpassungen im Mikrometerbereich vornehmen, um enge Toleranzen zu erreichen.
Aber Vorsicht: Der Spänefluss ändert sich im Vergleich zur Drehmaschine ständig. Das erschwert das Kühlen der Schneide, das Ableiten der Wärme und das Entfernen der Späne. Du musst Hitzestau und Späneverstopfungen genau im Auge behalten.
Werkzeugvibrationen
Vibrationen ruinieren die Oberflächengüte und Genauigkeit. Das sind die Hauptverursacher:
- Systemsteifigkeit: Wackelige Werkzeughalter, dünne Ausdrehstangen oder schwache Verbindungen? Gefährlich bei kleinen Bohrungen, tiefen Löchern oder harten Materialien – vor allem bei Auskragung. Steifigkeit ist Pflicht.
- Dynamisches Gleichgewicht: Ist die Werkzeugmasse nicht um die Rotationsachse verteilt? Zentrifugalkräfte erzeugen starke Vibrationen bei hohen Drehzahlen. Ausgewogenheit zählt besonders bei hohem Tempo.
- Werkstücksteifigkeit: Dünne Teile oder seltsame Formen, die nicht fest eingespannt sind? Sie vibrieren. Keine Vorrichtung kann das beheben.
- Schneidgeometrie: Spanwinkel, Spitzenradius und Spanbrecherform verändern die Schnittkräfte – und die Vibration.
- Schnittbedingungen: Geschwindigkeit, Vorschub, Schnitttiefe und Kühlmittelzufuhr wirken zusammen. Zu aggressiv? Es fängt an zu singen.
- Spindelzustand: Verschlissene Lager, lockere Werkzeugaufnahme oder ausgeschlagene Spindel? Die Vibration beginnt hier.
Werkzeug Richtig Einspannen
Das Einspannen entscheidet über Erfolg oder Misserfolg. Falsche Zentrierhöhe? Das führt zu Problemen:
- Zu niedrig: Die Rückseite der Schneide reibt am Werkstück. Die Reibung zieht die Spitze tiefer hinein → zerstört den Schnitt.
- Zu hoch: Die Schneide schabt wie eine Schaufel — besonders schlimm bei kleinen Bohrungen.
Der optimale Punkt: Knapp über der Mitte (aber wirklich knapp!). Warum? → Erhöht den Freiwinkel → sauberer Schnitt. → Bei Vibration biegt sich die Spitze nach unten zur Mitte → besseres Verhalten. → Das Werkzeug kann sich leicht zurückziehen → schützt das Werkstück bei Crashs.
Tipp: Verwenden Sie eine Schneide mit positivem Spanwinkel. Null oder negativ bedeutet mehr Schneidkraft → Bruchgefahr. Zu viel positiv schwächt jedoch die Schneide. Finden Sie das richtige Gleichgewicht.
Durchmesser und Länge
Die Größe deiner Ausdrehstange hängt vollständig vom Durchmesser und der Tiefe des Bohrlochs ab. Faustregeln:
- Kürzester möglicher Überstand.
- Größter Stangendurchmesser, der passt (mit Spänefreiraum!).
- Spannlänge ≥ 3× Stangendurchmesser.
Warum Steifigkeit entscheidend ist: Tangentiale und radiale Kräfte biegen deine Stange – garantiert. Jede Biegung bedeutet: → Ungleiche Schnitttiefe → Vibration. → Fehler im Bohrlochdurchmesser. → Die Schneide läuft aus dem Zentrum.
Tipps zur Klingenauswahl:
- Primärer Freiwinkel >75° (ideal sind 90°!) – leitet die Kraft in die Stange, nicht seitlich.
- Positive Spanwinkel = geringere Schnittkräfte.
- Eckenradius < Schnitttiefe (z. B. 0,4 mm Radius für 0,5 mm Tiefe).
- Scharfe Schneiden = sauberere Löcher, weniger Rattern.
- Offene Spanbrechergeometrie – fördert Spanabfuhr.
- Reibungsarme Beschichtungen (dünn/unbeschichtet) oder Metallkeramik – senken die Schnittkräfte.
Spanabfuhr ist das A und O:
- Kurze, gebrochene Späne = hoher Energieverbrauch, Vibrationen, Kerbverschleiß.
- Lange Späne = Vogelnester, verklemmte Werkzeuge.
- Ziel: Enge Spiralen – leicht zu entfernen, geringe Kantenbelastung.
Verhindern Sie, dass Späne Ihr Loch ruinieren:
- Interne Kühlmittelspülung – bläst Späne durch das Werkzeug.
- Druckluft – bläst Rückstände durch die Spindel zurück.
- Umgedrehtes Bohren – Späne fallen von der Schneide weg.
- Geschwindigkeit senken + kleinere Vorschübe = mehr Platz für Späne.
- Werkzeugweg ändern, wenn sich Späne weiterhin ansammeln.
Manchmal brauchen Sie einfach eine härtere Schneidstoffsorte, um Verstopfungen oder Vibrationen zu beseitigen, wenn alles andere versagt.
Genug vom Rattern oder Mikronjagd? Wenn Standard-Werkzeuge nicht ausreichen – sei es wegen Form, Material oder krassen Toleranzen – Sundi ist für Sie da.
Wir verkaufen nicht nur Werkzeuge – wir liefern Lösungen. Schicken Sie uns Ihre Zeichnungen, und wir entwickeln maßgeschneiderte Werkzeuge, die zu Ihrem Loch, Ihrer Maschine und Ihrem Zeitplan passen. Schwierig zu bearbeitende Legierung oder tiefes Loch? Her damit.
Kompromittieren Sie Ihre Oberfläche nicht. [Kontaktieren Sie Sundi noch heute] – lassen Sie uns Ihre schwierigsten Bohrungen zu den einfachsten Aufgaben machen.