Ir al contenido
Planer Marks: Diagnose Surface Patterns Before Replacing Knives
Different planer marks point toward different mechanisms. A line that holds the same position across several boards calls for a different check than random dents, end-only snipe or torn grain. Before changing settings or ordering knives, look at four things: where the mark sits across the board, whether it repeats regularly, whether it appears only at an end, and whether the wood is dented, torn, fuzzy, glossy or darkened.
Use the pattern to choose a test—not to diagnose a failed part from appearance alone. Prepare a flat test board, keep hands away from moving parts, and isolate the machine from power before opening a guard or approaching the cutterhead. Wait for all motion to stop. Follow the exact machine manual for access, cleaning, adjustments and service limits.
| Surface pattern | Check first | When a knife or cutterhead check becomes reasonable |
|---|---|---|
| One narrow line at the same cross-board position | Repeat the pass and see whether the line stays fixed | The fixed position repeats on prepared stock |
| Regular, evenly repeating waves | Confirm regularity across controlled passes | The rhythmic pattern persists after stock and feed conditions are checked |
| Irregular washboard or chatter | Check stock support, feed stability, cleanliness and vibration | Simpler stock and feed causes have been ruled out |
| Random dents or chip-shaped impressions | Inspect chip extraction and roller cleanliness after shutdown | Marks persist after evacuation and cleaning, or edge damage is visible |
| Depression near a board end | Repeat with better support through the cut | Support and feed checks fail, or a separate fixed track is present |
| Torn grain or fuzzy raised fibers | Check grain, cut depth and, for fuzz, moisture | The defect persists on suitable stock after those checks |
| Glossy or scorched-looking bands | Check for resin or glue buildup and excess drag | Cleaning and process checks do not remove the pattern |
One line that stays at the same position across the board
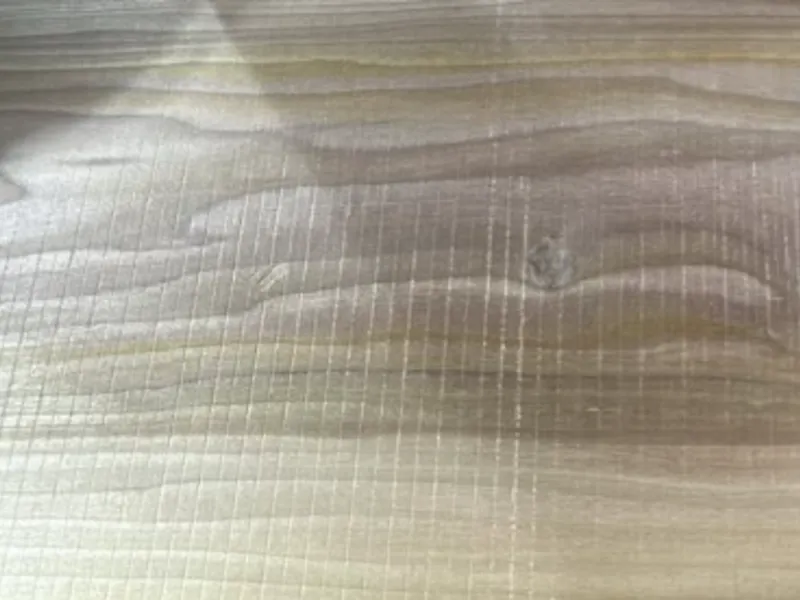
The rest of the face may be smooth, but one narrow ridge, unplaned line or track runs with the feed direction. A track that repeats at the same lateral position is consistent with a chipped straight knife, or an insert that is damaged or not seated like its neighbors. The board is effectively mapping one cutter position.
Make a controlled repeat pass on prepared stock and compare the line’s position. If it moves, disappears or becomes random, the original line is not proof of edge damage. Lighting, grain and a contaminated pass can imitate a track.
If the position stays fixed, isolate power and follow the manual’s cutter-access procedure. Clean and inspect the corresponding edge or insert seat; debris under an insert can matter as much as the insert itself. Rotate, replace or reset a cutting element only as its maker and the machine manual allow.
Regular waves that repeat evenly
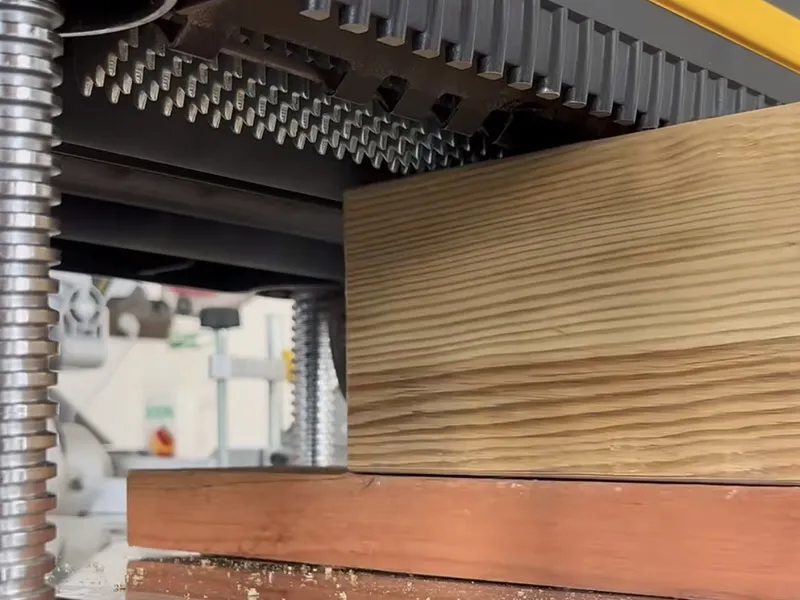
Shallow ridges recur with a steady rhythm. Under raking light, their spacing looks more consistent than a bumpy, irregular washboard surface.
Compare several areas and repeat the pass with suitable stock feeding steadily. If the regular pattern persists, a knife-height difference, inconsistent insert setting or another rotating cutterhead setup issue becomes more plausible. Follow the exact model’s setting method to check knives, inserts and seating.
The useful observation is the pattern’s regularity, not an inferred machine setting. Wave spacing alone does not reveal speed, feed rate or knife count; that calculation requires measured, model-specific operating data. Do not compensate with an unrelated adjustment just because the surface looks striped.
Irregular washboard or bumpy chatter
Planer chatter marks can resemble a washboard, but their pitch, depth or severity varies instead of holding a clean rhythm. Unstable feed or abnormal vibration may accompany the marks. Several things can produce this surface: poor support, narrow or thin stock, feed-component or chipbreaker conditions, pressure-bar setting, worn bearings, vibration or inconsistent knife height.
Start with a flat, suitably supported test board. Observe whether stable support changes the marks and whether abnormal sound or vibration remains, without approaching moving components. Rule out warped or unsuitable stock, poor support, loose external conditions and a dirty feed path. After shutdown, use the manual to inspect feed components within the operator’s scope.
Knife-height and cutterhead-bearing checks move up the list when those simpler checks do not change the surface, or another symptom points directly to the cutter. “Chatter” describes the result, not one failed part: a bearing, pressure component and poorly supported board can leave similar-looking marks.
Random dents or chip-shaped impressions
Scattered pockmarks, impressed chips or short dragged dents are different from a fixed track or regular waves. Some appear on the roller-contact face rather than only on the freshly cut face. Chips, resin or debris may be recirculating near the cutterhead or being pressed into the wood by a contaminated roller. Restricted extraction or a chip-deflector problem can keep waste in the cut.
Compare the two faces. After a safe shutdown, inspect the extraction path, accessible chip-deflector area and rollers for packed chips, resin and debris. Restore chip evacuation and clean accessible areas by the maker’s procedure, then run another prepared board before changing cutting elements.
Inspect the edges if damage is visible during that check, or if the marks remain after extraction and roller cleanliness are restored. Random dents alone do not prove dull knives or roller misalignment; cleaning and evacuation are the first tests because there is no fixed pattern pointing to one cutter position.
Snipe near the leading or trailing end
Planer snipe is a shallow depression or extra removal near a board end while the middle is closer to the intended surface. The board can lift or lose support as roller engagement changes. Bed or table rollers, feed-roll pressure, pressure-bar or chipbreaker setup, and table alignment can also contribute. Snipe is not a sharpness test.
Mark where the depression begins, then repeat with the board level and supported through entry and exit. If better support changes the end mark, that points away from a simple cutting-edge explanation. Support long stock and check that feed surfaces are clean and behaving correctly before considering machine adjustments.
Inspect the cutter when support and feed checks do not explain the mark, or when a separate fixed lateral track points to one cutter position. Roller, pressure- component and table adjustments are model-specific: do not transfer a setting from another planer.
Torn grain versus fuzzy raised fibers
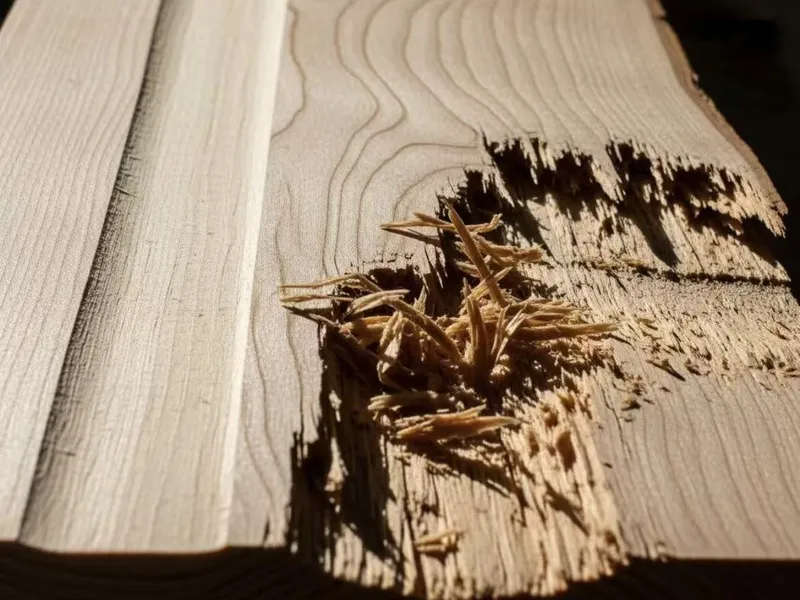
Tear-out leaves missing chunks or torn fibers, often near changing or reversing grain. Fuzz leaves raised fibers without the same scooped-out loss of material. Grain direction, knots or cross-grain, cut depth and feed can contribute to tear-out; moisture, wood species, edge condition and bevel can contribute to fuzzy grain. Wood moisture also affects planing quality.
Trace the grain through the damaged area. Try a shallower controlled pass on prepared stock and, for fuzz, check moisture with an appropriate meter. Change feed direction where the machine and board allow, and compare the result rather than guessing from species or color. Difficult grain reversal may require a different process plan.
Inspect knife sharpness, condition and setting if the defect persists on suitable stock after grain direction, cut depth and moisture have been checked. A spiral or helical cutterhead may reduce some tear-out, but it cannot eliminate workpiece, alignment, chip-evacuation or roller causes.
Glossy or scorched-looking bands
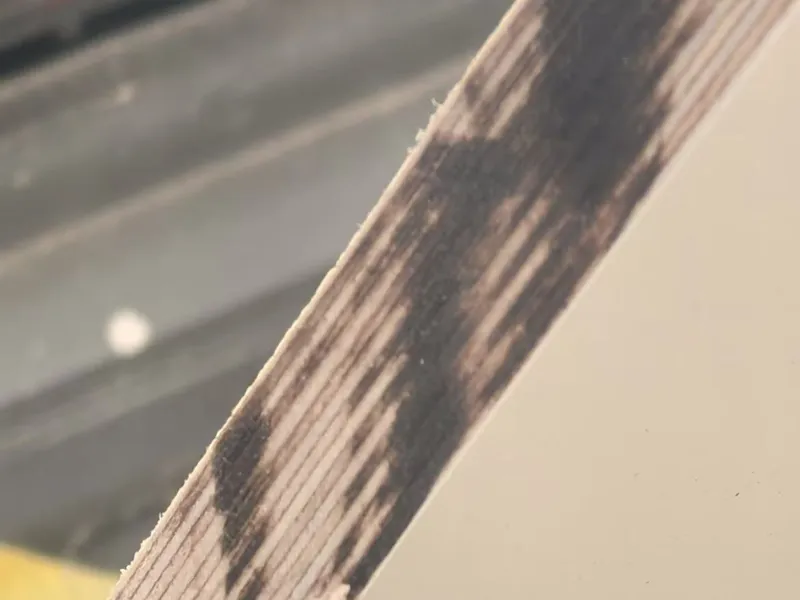
A band may look polished under raking light or genuinely darkened by heat. Unlike tear-out, it need not contain missing fibers. Resin or glue buildup can increase drag and reduce clean cutting; a dull edge under some feed and depth conditions can also contribute to gloss or scorch.
After isolating power, inspect the rollers and accessible cutterhead area for buildup. Remove it only by the approved machine and cutting-tool procedure, then repeat with suitable stock and operating conditions. Note whether the band is merely reflective or heat-darkened, and whether cleaning changes it.
Check sharpness and edge condition if the mark remains after cleaning and manual-supported process checks. Gloss alone is not a dull-knife test: raking light, compressed grain and contamination can also make a band look polished.
When should you inspect or replace planer knives?
Inspect when there is a repeatable reason: a fixed lateral track, regular waves that survive a controlled pass, visible edge or seating damage, or a defect that remains after the simpler checks for its pattern.
Inspection comes before replacement. Isolate power, wait for motion to stop and follow the machine and cutter manufacturer’s procedure. Look for damage, contamination, seating problems and inconsistent settings. Rotate, reset or replace an element only when the inspection and applicable instructions support that action.
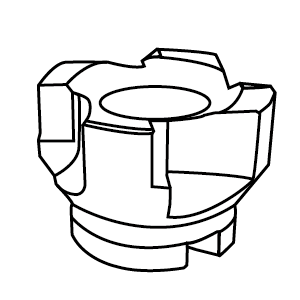
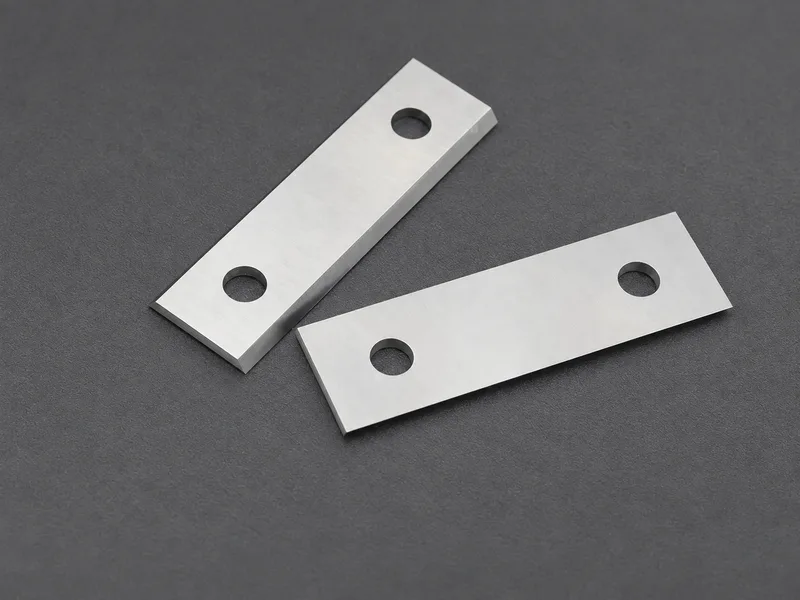
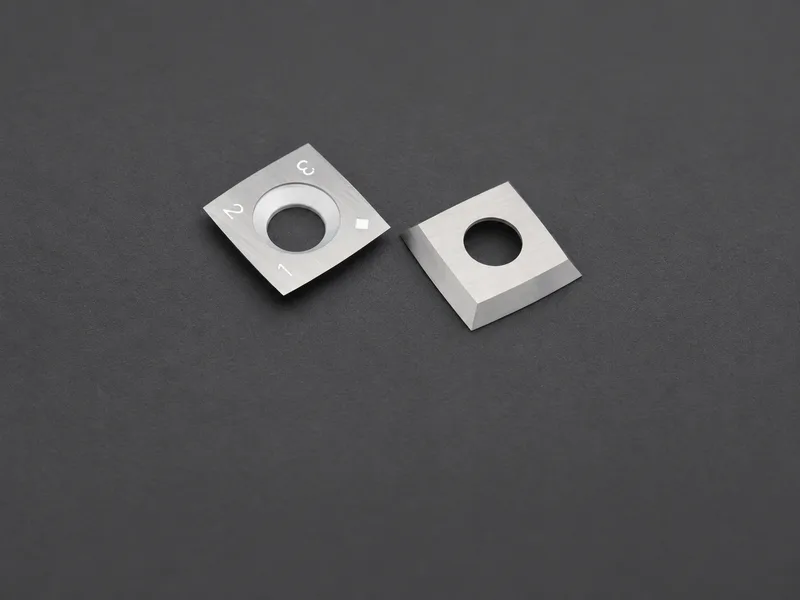
Before replacing cuchillas cepilladoras, verify the knife dimensions, seating arrangement and application requirements against your machine.
Inspect from low cost to high cost
Use the symptom sections to choose your first test. If the cause remains unclear, keep the investigation in this order:
- Classify the mark and confirm it on flat, prepared stock. Change one variable at a time.
- Check support through the cut, particularly for end marks.
- Isolate power; clean the extraction path, rollers and safely accessible areas by the manual’s procedure.
- Check grain direction, moisture when relevant, cut depth and stable feed.
- Inspect the corresponding knife, insert and seat when the repeated pattern or failed simpler checks justify it.
- Follow the model manual for feed components, bed rollers, bearings and table locks. Use qualified service for work outside the operator’s scope.
- Measure table alignment only if consistent side-to-side thickness difference or along-board taper remains after warped stock, knives or inserts, bed rollers, feed settings and locks have been ruled out.
Record what changed the surface before making another adjustment. That gives you a better basis for the next check than replacing several parts at once.