


¿Qué es el fresado de acabado? Cómo diagnosticar y mejorar el acabado superficial
El fresado de acabado revela si todo el proceso fue estable. Si la superficie presenta marcas de vibración, líneas de avance, material embadurnado o mal acabado lateral, el problema pudo empezar antes de la pasada final.
Empezar por el problema superficial
Un mal acabado da pistas. La vibración apunta a rigidez y oscilaciones. Marcas regulares de avance señalan paso lateral, avance, radio o trayectoria. El material embadurnado puede indicar que el filo roza en vez de cortar. Una pared delgada mal acabada puede apartarse de la fresa.
Por eso el acabado debe tratarse como diagnóstico, no decoración. La pasada final no siempre corrige mal desbaste, sujeción débil, sobrematerial incorrecto o herramienta inestable.
Qué debe controlar el fresado de acabado
El fresado de acabado es una pasada final o casi final controlada para mejorar superficie, precisión dimensional y marcas visibles. Suele retirar menos material que el desbaste, pero debe formar una viruta real.
No basta con «ir más lento». El acabado necesita combinar agudeza, contacto, carga de viruta, rigidez y apoyo. Si la fresa roza, la superficie puede empeorar aunque el corte sea ligero.
Por qué el acabado depende de decisiones de desbaste
Sobrematerial de mecanizado
El acabado necesita suficiente material para limpiar la superficie, sin que la pasada final se comporte como desbaste. Muy poco sobrematerial puede dejar las marcas anteriores de herramienta. Demasiado material puede cargar la herramienta y causar vibración o flexión.
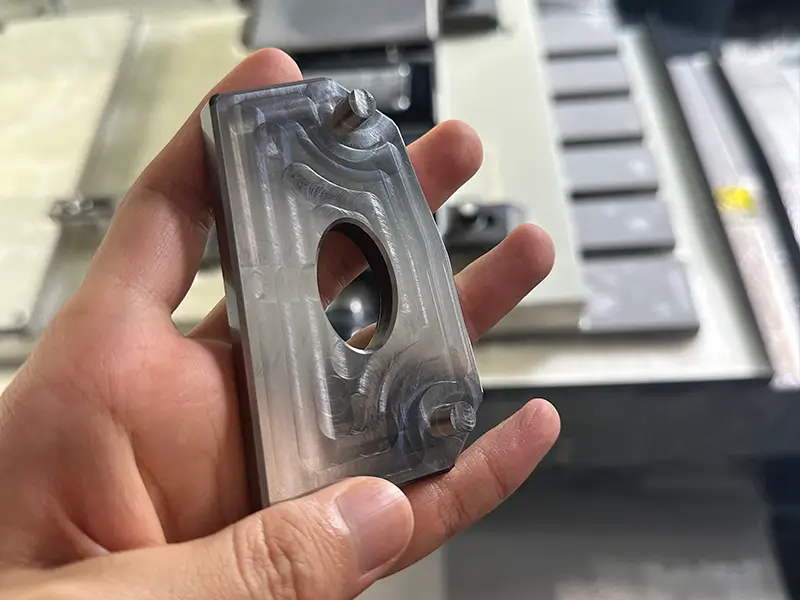
Apoyo de pieza y movimiento de paredes
Paredes finas, elementos altos y fijaciones débiles pueden moverse al acabar, dejando conicidad, vibraciones o marcas irregulares. Una pasada más ligera ayuda, pero no elimina la flexibilidad.
Contacto de herramienta
Importan entrada y salida de herramienta. Los cambios bruscos de contacto pueden dejar marcas. Una trayectoria suave y contacto radial estable hacen predecible el acabado.
Diagnosticar el acabado antes de cambiar parámetros al azar
No cambie velocidad, avance, paso lateral, herramienta, portaherramientas y refrigeración a la vez. Examine primero la superficie.
| Qué se observa | Primer punto que comprobar | Por qué importa |
|---|---|---|
| Marcas de vibración | Rigidez, voladizo, portaherramientas, fijación | El sistema vibra en vez de cortar de forma estable |
| Líneas regulares de avance | Avance, paso lateral, radio, trayectoria | La trayectoria queda impresa en la superficie |
| Embadurnado o rozamiento | Carga de viruta, agudeza del filo, refrigeración | Puede que el filo no forme una viruta limpia |
| Mal acabado de pared delgada | Apoyo y carga de corte | La pieza puede apartarse de la fresa |
Marcas de vibración
La vibración suele indicar que la fresa, el portaherramientas, la máquina o la pieza vibra. Reduzca voladizo, mejore sujeción, disminuya contacto o ajuste velocidad para salir de la condición inestable.
Líneas de avance
Las líneas de avance no siempre son defectos, pero pueden ser demasiado visibles. Reduzca paso lateral, ajuste avance, use radio adecuado o cambie estrategia de trayectoria.
Embadurnado o rozamiento
Si la superficie parece embadurnada, el filo puede deslizar más de lo que corta. Puede deberse a herramienta desafilada, poca carga de viruta, refrigeración deficiente o material pastoso.
Mal acabado en paredes delgadas
Una pared fina puede flexionar durante el corte y recuperarse después. El resultado parece un problema de herramienta aunque la causa principal sea el apoyo.
Factores principales de calidad del acabado
Agudeza y geometría de herramienta
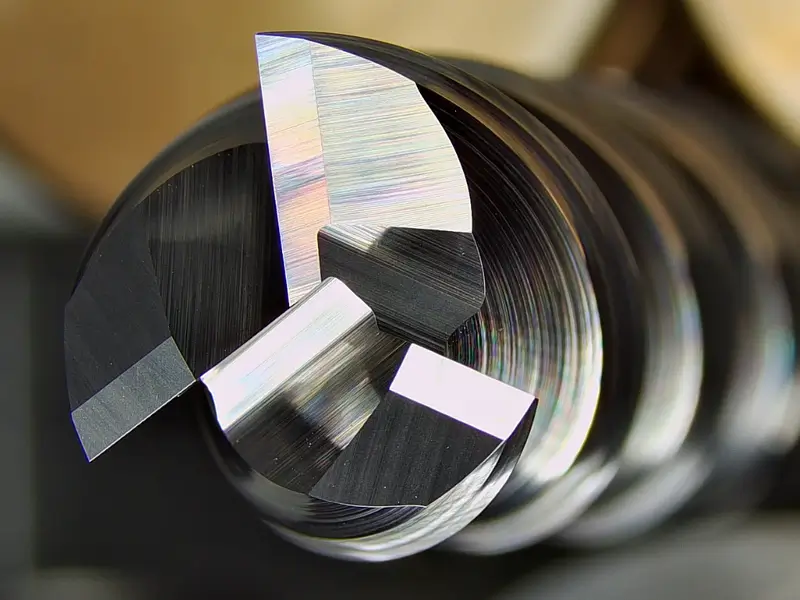
El acabado depende del estado del filo. Un filo gastado puede rozar, empujar material o dejar marcas irregulares. La geometría debe adaptarse al material y acabado requerido.
Paso lateral, avance y carga de viruta
Un paso lateral menor reduce crestas visibles, pero avance y carga deben bastar para cortar. Una pasada demasiado suave puede pulir y calentar el material en vez de mejorarlo.
Rigidez, voladizo y fijación
La rigidez suele ser la variable oculta. Mucho voladizo, portaherramientas débil o mala fijación pueden hacer vibrar una pasada ligera. Mantenga la herramienta corta, apoye la pieza y reduzca palancas innecesarias.
Refrigeración y evacuación de viruta
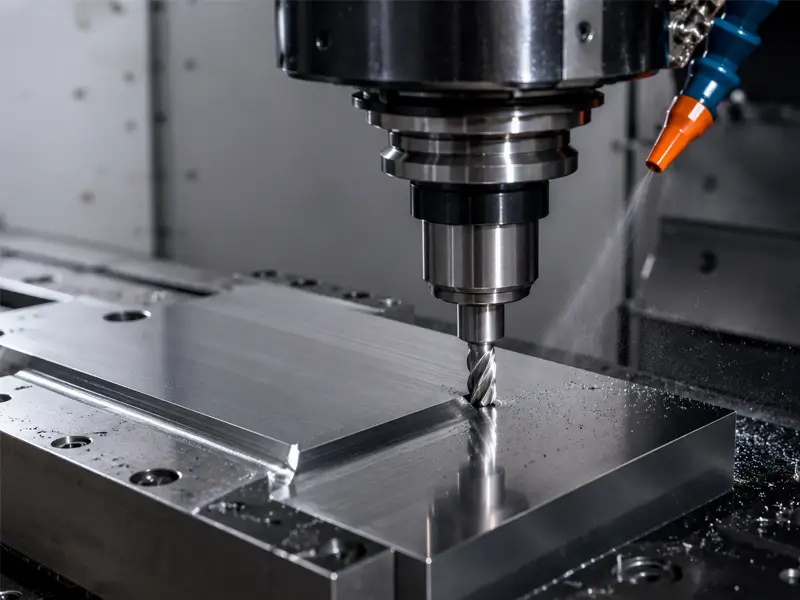
La viruta que queda en el corte puede rayar la superficie. Refrigeración, soplado o estrategia de evacuación deben permitir al filo cortar material limpio.
Proceso práctico de acabado
Primero confirme que el desbaste deja sobrematerial uniforme. Elija la herramienta estable más corta que alcance la zona. Use filo agudo, mantenga contacto predecible y evite enterrar la fresa en la pasada final.
Ejecute el acabado, inspeccione y cambie una variable cada vez. Ante vibración, empiece por rigidez y contacto. Para marcas regulares, ajuste paso lateral, avance o trayectoria. Ante rozamiento, compruebe carga de viruta y filo.
Datos que registrar en una prueba de acabado
Incluso sin medidor de superficie, registre diámetro, labios, voladizo, material, sobrematerial, paso lateral, avance, velocidad de husillo, refrigeración y aspecto final.
Si dispone de medidor, registre el acabado junto con el montaje. Un número sin contexto sirve poco. Vinculado a herramienta, material y contacto, se convierte en conocimiento repetible.
Mejorar el acabado sin adivinar
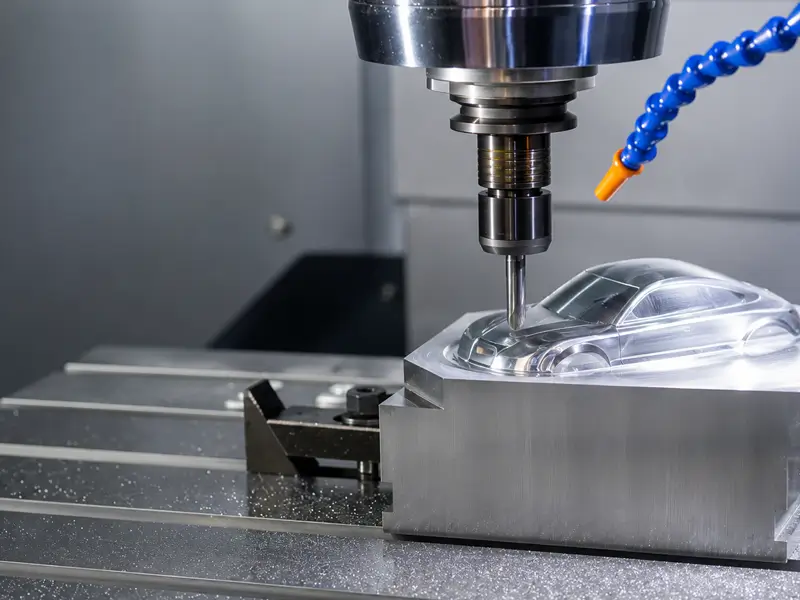
Cambie una variable cada vez. Ante vibración, cambiar primero refrigeración puede ocultar la causa. Ante rozamiento, reducir avance puede empeorarla. Para líneas de avance, el paso lateral puede importar más que la velocidad.
Use la superficie como información. Una pasada es un pequeño ensayo: la herramienta deja pruebas del comportamiento del sistema. Cuanto mejor las interprete, menos cambios al azar necesitará.
Cuándo conviene una herramienta de acabado separada
Usar la misma herramienta para desbaste y acabado puede funcionar, pero no siempre es ideal. Una herramienta de desbaste puede estar gastada, cargada o elegida para arrancar material y no para calidad superficial. Una herramienta específica puede ofrecer un filo más agudo, una mejor geometría y un contacto final más predecible.
Depende de tolerancia, acabado, material y ciclo. Una herramienta puede bastar en trabajos de bajo riesgo. Para superficies visibles, tolerancias estrechas o series, separar desbaste y acabado facilita el control.
Errores que empeoran el acabado
Un error es dejar sobrematerial irregular, que cambia la carga. Otro es mantener mucho voladizo porque era cómodo al desbastar. Aunque ligero, el acabado sigue siendo sensible a la palanca.
Un tercer error es intentar borrar un mal proceso con una pasada final. Si el desbaste deja vibración, tensiones o paredes móviles, el acabado debe combatirlas. Un buen acabado empieza antes de la última pasada.
Elección de herramienta para pasadas de acabado
La herramienta debe corresponder al acabado buscado. Una fresa de metal duro afilada con geometría adecuada puede dejar mejor superficie que una herramienta de desbaste gastada. Un número de labios o estado de filo incorrectos dejan marcas incluso con parámetros razonables.
El diámetro también importa. Una herramienta mayor y rígida mejora estabilidad si la geometría lo permite. Una pequeña puede ser necesaria para acceso, pero flexiona más. Elija según zona y acabado, no solo lo que ya está montado.
Cómo reconocer una buena pasada de acabado
Una pasada estable suena uniforme, produce viruta consistente y deja un patrón repetible. La máquina no debe alternar corte y rebotes. La herramienta no debe rozar en silencio y enganchar de repente.
Si cambia el sonido, busque variación de contacto, acumulación de viruta, movimiento de pieza o desgaste. Cuanto antes lo detecte, más fácil corregirlo antes de dañar la superficie.
Un buen acabado rara vez nace de un ajuste mágico. Resulta de una cadena estable: sobrematerial correcto, pieza apoyada, herramienta afilada y viruta controlada en la pasada final.
Por eso dos talleres pueden obtener superficies distintas con herramientas similares. El acabado depende de todo el montaje, no solo del avance final.
Preguntas frecuentes
¿El fresado de acabado es solo una pasada más lenta?
No. Más lento no significa mejor. La herramienta debe seguir cortando limpiamente.
¿Cuánto sobrematerial dejar para el acabado?
Depende del material, tamaño, rigidez y acabado. Deje suficiente para eliminar marcas de desbaste sin sobrecargar el acabado.
¿Por qué empeoró el acabado tras una pasada ligera?
La herramienta pudo rozar en vez de cortar, o vibró el montaje. Una pasada ligera también necesita carga de viruta y rigidez suficientes.