



What Is Reaming? A Complete Guide to Reaming in Machining
Reaming is a key step in precision machining. It improves hole accuracy, roundness, and surface finish after drilling. This guide explains how reaming works, when to use it, and how to get the best results in your shop.
Contents
1. What Is Reaming and Why It Matters in Machining
Sometimes a pre-machined hole needs a small finishing allowance removed to meet its size and surface requirements. Reaming refines a suitable starting hole; it is not a general repair for misplaced or badly distorted holes.
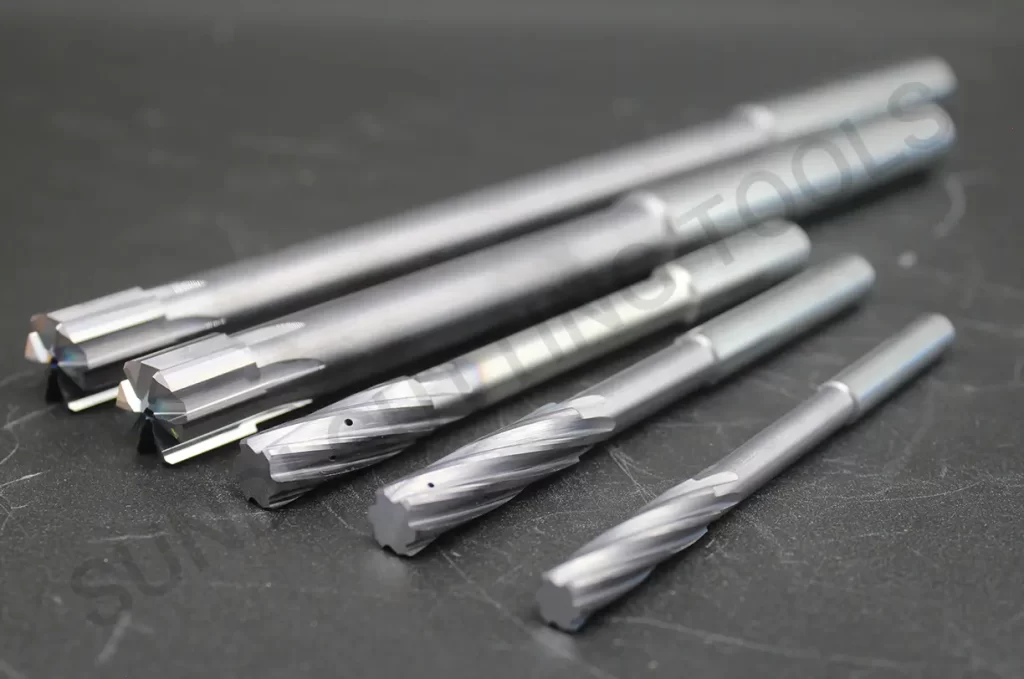
Reaming uses a reamer to remove a controlled allowance from an existing hole. It can improve diameter, roundness, and surface finish when the starting hole and process are suitable; the required result must be verified.
In aerospace, medical-device manufacturing, and precision tooling, reaming can help produce the specified fit when used within a qualified process.
2. How Reaming Works in Metalworking
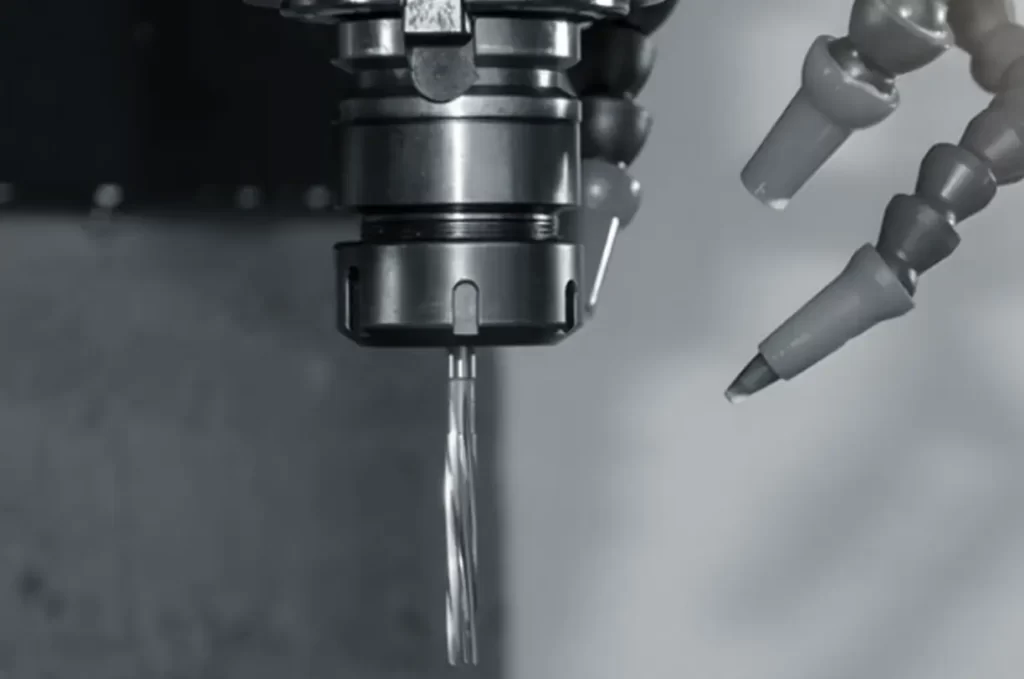
Prepare a hole with the allowance recommended for the reamer, material, and diameter. The reamer then removes this allowance with its cutting edges, commonly in one controlled traverse rather than repeated light passes.
A reamer generally follows the existing hole and should not be relied on to correct significant position or alignment error. Verify the starting hole before finishing.
Choose speed and feed from the reamer supplier’s data for the actual material, diameter, and tool. Half the drilling RPM and a slightly higher feed are not universal rules, especially for modern high-performance reamers.
For a detailed comparison of drilling, boring, and reaming, see Drilling vs. Boring vs. Reaming.
3. When to use reaming: Typical Applications
Reaming is used to finish holes to specified dimensional and surface requirements. The original ±0.01 mm value is not a universal threshold or guaranteed capability; tolerance depends on nominal size and the qualified process.
Common applications include:
Producing dowel-pin holes to the specified clearance, transition, or interference fit
Seating bushings or bearings accurately
Mould bases requiring repeatable alignment
Internal holes that require low friction or sealing
Any assemblies requiring smooth, clean bores
Consider reaming when its validated capability matches the hole requirements; it does not guarantee every hole will conform.
4. How to Ream a Hole: Step-by-Step Guide
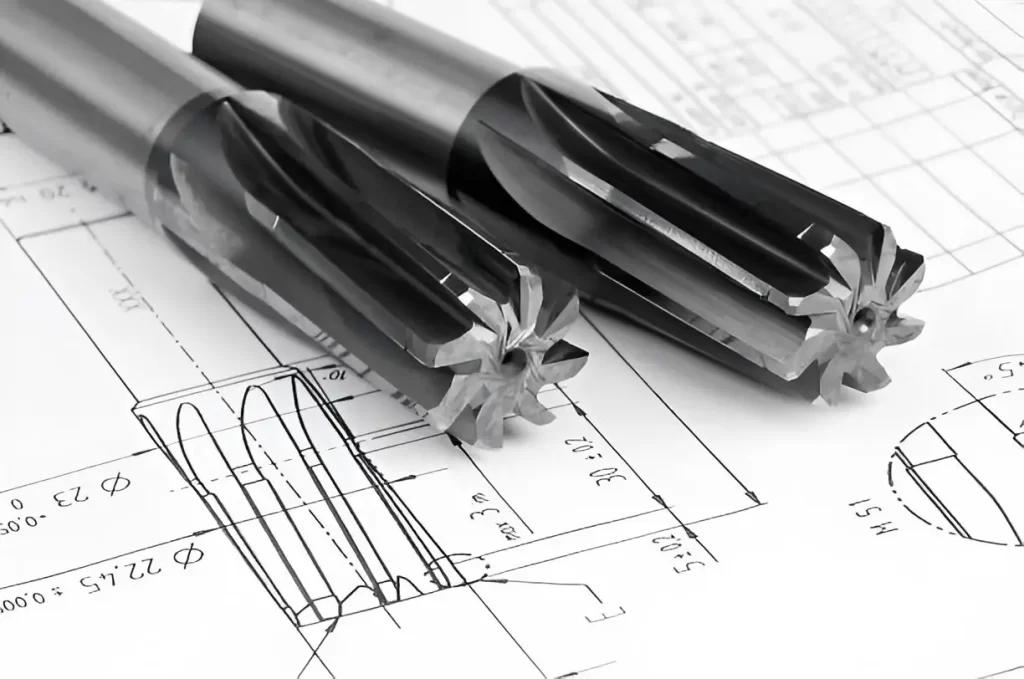
For a specified reaming operation, use the following checks:
1. Drill undersized
: Set the pre-hole diameter from the tool supplier’s stock-allowance guidance and actual hole condition. The original 2–4% rule and 9.7–9.8 mm example for a 10 mm hole are not universal settings.
2. Secure the workpiece
: Use suitable workholding and alignment. Even small movement or distortion can affect hole quality.
3. Choose the right reamer
: Match the tool to the material and hole specification. PCD generally suits selected non-ferrous materials and composites; it is not a universal option for harder metals.
4. Apply suitable lubrication
: Use the coolant or cutting strategy approved for the tool, material, and machine. It can support chip evacuation but does not guarantee a scratch-free finish.
5. Adjust speed and feed
: Follow the reamer’s application data and verify the result. Do not automatically halve drilling RPM or increase feed by an unspecified amount.
6. Use the specified cutting cycle
: Feed and retract as instructed for the reamer and hole type. Blind holes require controlled depth and clearance; full exit beyond the workpiece is not possible. Do not reverse a conventional reamer in the cut unless its manufacturer explicitly permits the operation.
5. Types of Reamers and Their Applications
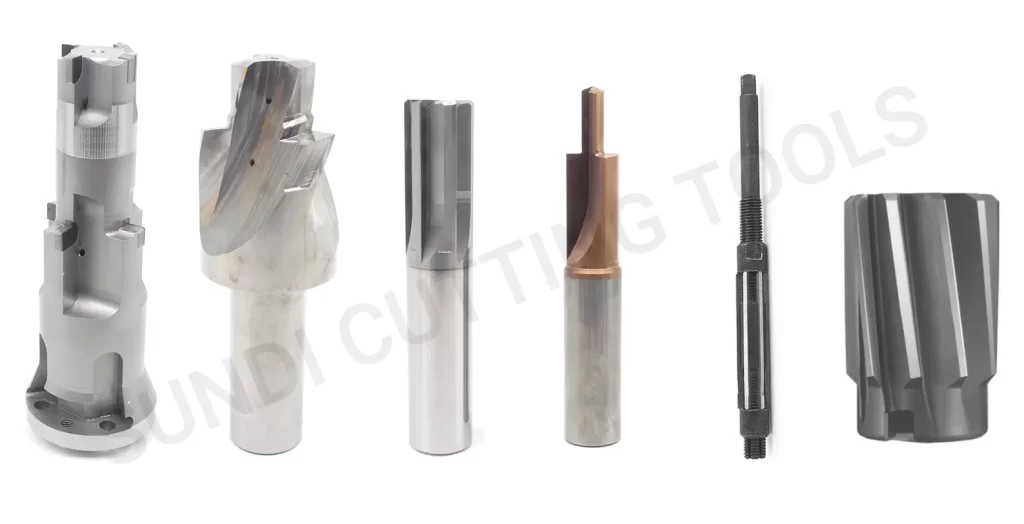
Different materials, holes, and production volumes call for different reamers:
Straight flute reamers can suit through or blind holes depending on their lead geometry, coolant delivery, and design.
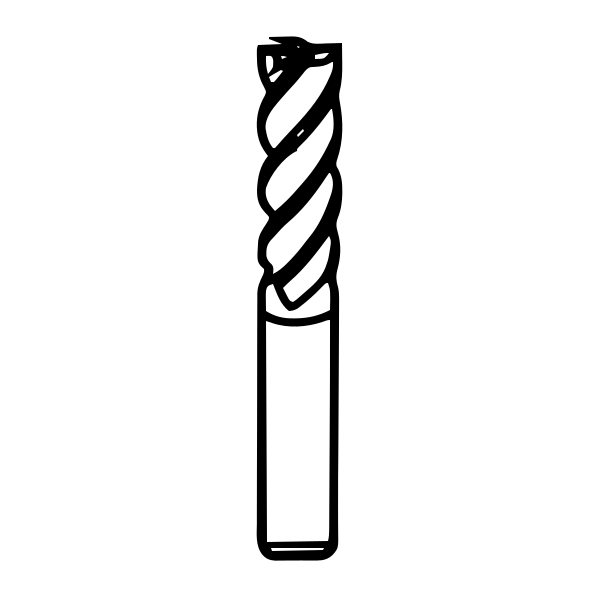
Spiral flute reamer selection depends on helix hand, cutting direction, chip flow, and hole type; a spiral flute is not automatically preferable for every blind hole.
Carbide reamers require grades and geometries suited to the actual material, hardness, and setup; carbide alone does not guarantee tight tolerances.
PCD reamers may suit selected non-ferrous materials and composites when their geometry and construction match the application.
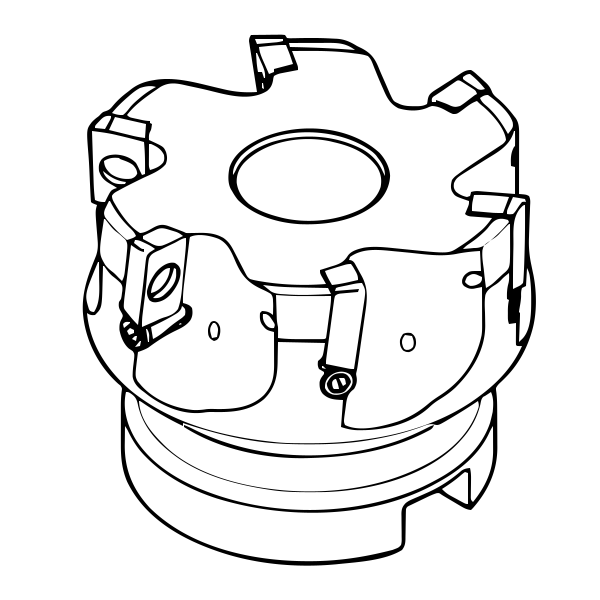
Shell reamers mount on a suitable arbor and are available for particular bore sizes. They are not automatically the best option for every large hole.
Adjustable reamer – Useful when exact diameter control is needed.
Each type has its place. Choose according to the job requirements.
6. Common Issues in Reaming (and How to Avoid Them)
Reaming isn’t foolproof. Here’s what can go wrong—and how to prevent it:
Hole too big or small: Check reamer size, wear, runout, alignment, stock allowance, and cutting conditions rather than assuming pre-drill size or tool flex is the sole cause.
Rough surfaces: Check edge condition, chip evacuation, allowance, feed, and the specified coolant strategy. Dry cutting is not automatically wrong for every tool and material.
Chatter or vibrations – Happens with poor fixturing or unstable setup.
Bell-mouthing: Investigate alignment, runout, entry stability, tool condition, and workholding. Starting or stopping mid-cut is not the only possible cause.
Reduce these risks through suitable preparation, controlled cutting conditions, and inspection.
7. Best Practices for Better Reaming Results
Here is what experienced machinists pay attention to:
Keep reamer sharp—dull tools cause more trouble than they’re worth.
Use firm, short tool holding to reduce deflection.
Don’t pause or reverse mid-cut.
Choose the coolant type and delivery method according to the tool and material.
Leave the specified stock allowance so that the reamer cuts effectively.
Small details can make a large difference to the final result.
8. Choosing the Right Reamer
Reamer selection depends on the following factors:
Material being cut: Match grade and geometry to composition, hardness, and cutting behaviour; harder materials do not simply require a tougher tool.
Hole size and tolerance: Select tooling and a process capable of meeting the specification; a higher price alone does not establish greater accuracy.
Production quantities: Tool life and cost per accepted hole matter, particularly in large production runs.
Cost vs. performance: Compare suitable adjustable and fixed-size options using actual capability and total process cost.
If unsure, conduct a suitable trial or consult your tooling partner.
9. Conclusion and Support
Reaming can help achieve the required hole size and finish in a suitable process. A controlled setup can reduce scrap, but quality must still be verified.
At Sundi precision tool, we provide a range of reaming tools, including carbide, PCD, and customised solutions.
Have a question or a difficult hole to finish? Our technical sales team can help assess the reamer requirements for your job.