



Pocket Milling Toolpaths, Chip Evacuation, and How to Avoid Corner Overload
Pocket milling sounds simple in CAM because the software can instantly fill a closed boundary with motion. In the machine, the reader usually meets it through ugly symptoms: chip packing, corner chatter, heat, recutting, or a cutter that was fine in open roughing but starts dying inside the pocket. So the article has to begin from process control, not from a generic definition of what a pocket is.
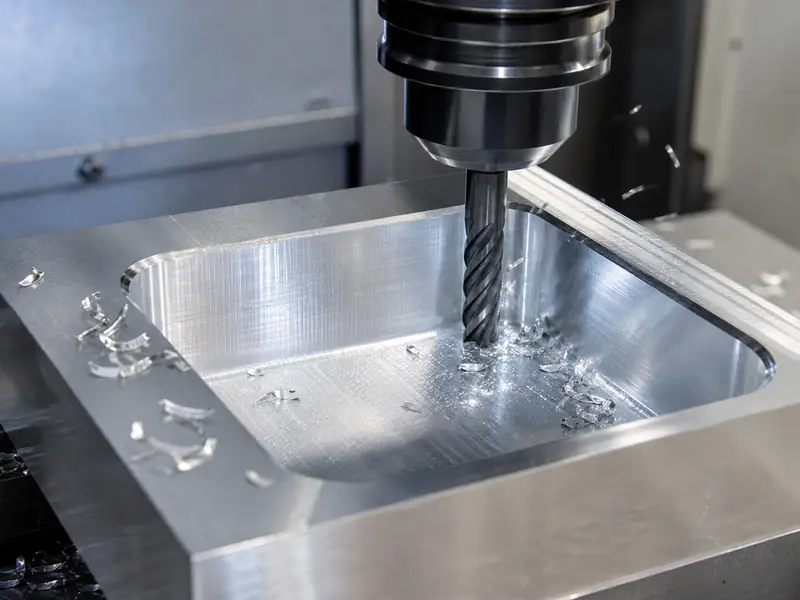
The real DNA here is sequence. Entry strategy, engagement control, and chip escape all matter before anyone starts arguing about feed rate. A pocket that looks easy on screen can still punish the tool if corners spike the engagement or chips have nowhere to go. That is the line the article should keep teaching from start to finish.
Quick answer: the best pocket-milling strategy is the one that stabilizes entry, engagement, and chip flow
Pocket milling failures usually start before the tool reaches full depth. The entry is wrong, the path overloads corners, or the chips stay trapped long enough to become the real cutting force. That is why the right starting answer is not one universal toolpath name. It is a sequence:
1. choose an entry method the tool and machine can survive; 2. keep engagement from spiking in corners; 3. make chip evacuation part of the strategy, not an afterthought.
| Pocket-milling problem | Better first move | Why |
|---|---|---|
| Chip packing | Open up the strategy for cleaner evacuation | Recut chips often do more damage than a small feed error |
| Corner overload | Smooth the path and reduce local engagement spikes | Corners punish the tool more than straight segments |
| Tool breakage near entry | Reconsider the entry method before touching every speed value | The process may be failing before the real roughing even begins |
| Heat and chatter inside deep pockets | Treat the pocket like a stability problem, not just a material-removal problem | Pocket geometry changes the cut environment dramatically |
Why pocket milling is more complicated than open-area roughing
Open-area roughing lets chips escape and often allows the tool to stay in a more predictable engagement window. A pocket adds walls, corners, and limited chip escape paths. Those constraints change what the cutter experiences.
The tool can get trapped by its own success
As the pocket clears, the tool may create more chips than the path can evacuate cleanly. Those chips then become the next problem. They get recut, smear the floor, scratch the wall, or increase heat enough to change the sound of the cut.
Corners are not the same as straight paths
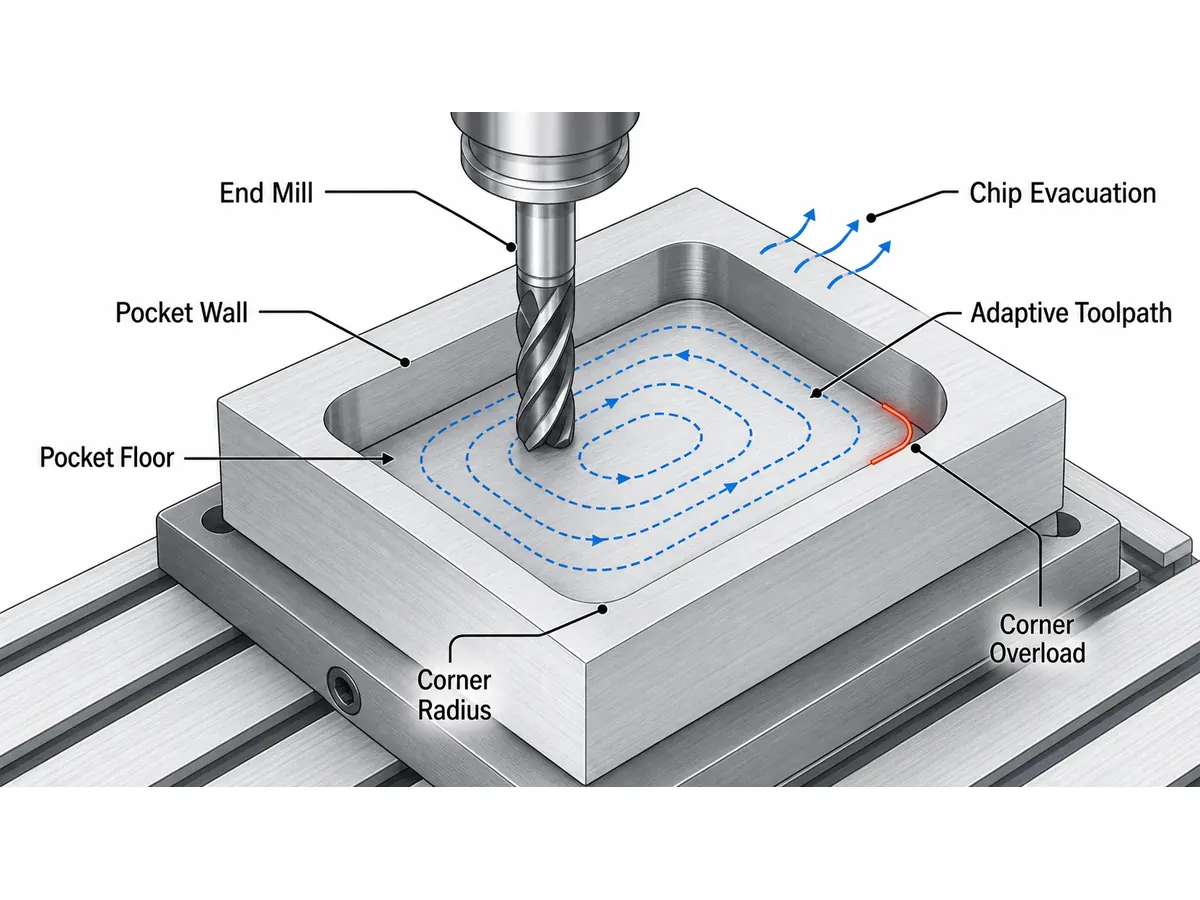
Many pockets sound fine until the cutter reaches the corner. The reason is that effective engagement rises. Even if the programmed feed is the same, the tool is suddenly asked to work harder. This is one reason pocket milling benefits from smoother, more controlled strategies instead of simple brute-force paths.
Entry strategy: where the pocket problem often begins
The first seconds of the cut matter more than people think.
Helical or ramp entry
If the machine and cutter support it, helical or ramp entry often makes pocket milling easier because the tool enters gradually instead of taking a harsh straight plunge into solid stock. That reduces early shock and often improves chip behavior right away.
Predrill when it saves the tool
Predrilling is sometimes dismissed as extra work, but in difficult pockets it can be the cleanest process move. If the tool no longer has to create its own full entry hole, the rest of the clearing path starts from a healthier place.
Straight plunge only when the setup really supports it
Some cutters and processes can plunge effectively, but the shop should not default to that just because the CAM will allow it.
Toolpath strategy inside the pocket
The strategy should reflect how the tool will actually see material.
Conventional clearing
Simple offset or step-over clearing can work in open or shallow pockets when chip evacuation stays clean and the cutter is not being buried in hostile corners. It is not automatically wrong. It just has a narrower process window as the pocket gets deeper or the geometry gets tighter.
Adaptive or trochoidal logic
Adaptive-style pocketing becomes attractive when the shop wants to keep radial engagement more stable. That often helps Carbide End Mills survive deeper or more aggressive cuts because the tool is not repeatedly shocked by full-width corner conditions.
Rest machining and local cleanup
Pocket milling often works best as a sequence: rough with a stable engagement strategy, then come back for local cleanup. Forcing one toolpath to do everything can create more trouble than it saves.
Tooling and chip evacuation
Pocket milling is where tooling choice and evacuation discipline meet very directly.
Carbide End Mills as the usual baseline
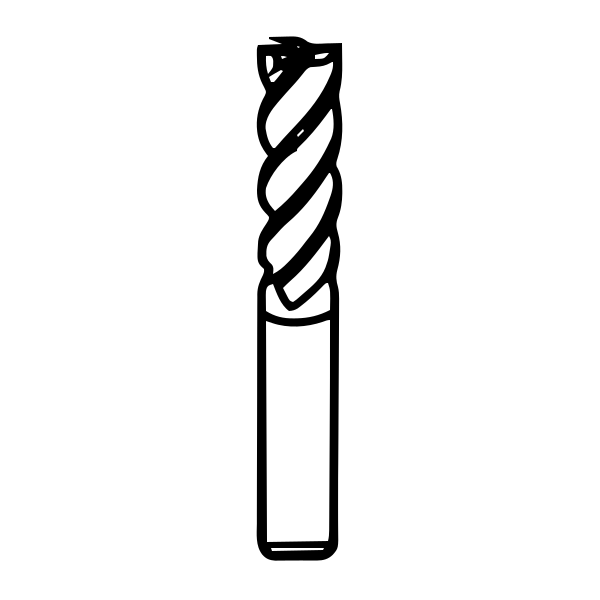
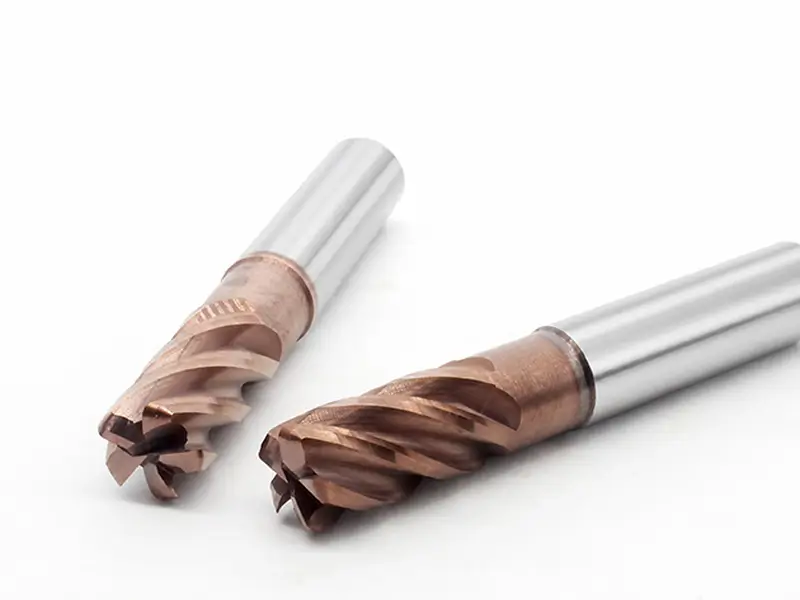
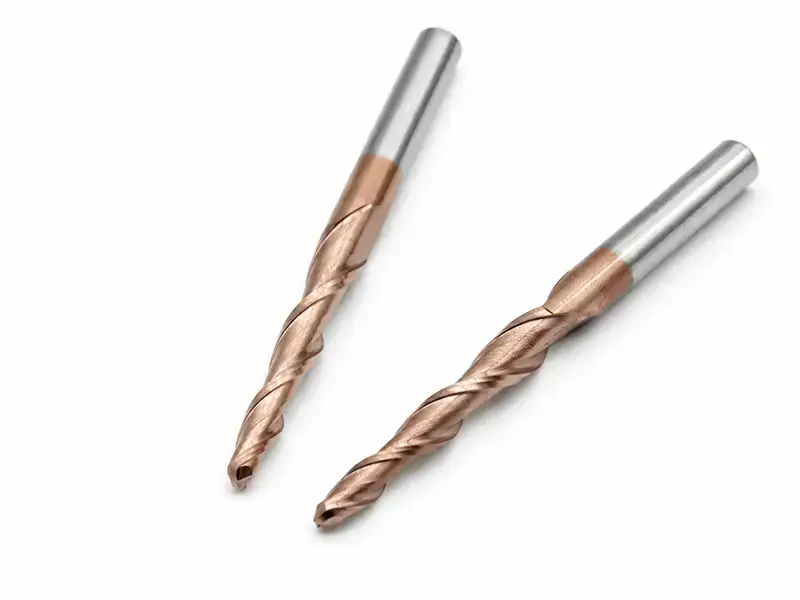
Carbide End Mills are the normal baseline because pocketing needs stiffness, predictable geometry, and enough tool life to survive repeated engagement changes. But the exact flute count, helix, stickout, and coating still depend on material and chip behavior.
Tool length discipline
Long stickout makes pocket milling dramatically harder. It increases deflection, encourages chatter, and makes corner problems show up sooner. The pocket may demand reach, but the setup should still keep the tool as short as possible.
Chip evacuation is part of the toolpath
Air blast, coolant, and the order of motion all affect whether the chips leave. A good-looking path on screen can fail simply because the chips never stop recirculating inside the cavity.
Common pocket-milling failures
| Failure | Usual cause |
|---|---|
| Corner chatter | Engagement spikes and weak rigidity |
| Floor finish scratches | Recut chips or trapped debris |
| Sudden tool breakage in deeper zones | Long stickout plus poor evacuation |
| Pocket sounds fine then turns harsh | Heat and chip buildup changed the cut |
| Burnished walls instead of clean finish | Rubbing or unstable finishing stock |
The important lesson is that these are process symptoms, not isolated mysteries. The pocket is telling the machinist where the engagement logic or evacuation plan is wrong.
Practical checklist for better pocket milling
- Choose an entry method that reduces early abuse.
- Use a path that keeps radial engagement more stable when the pocket is demanding.
- Keep the cutter as short as possible.
- Watch corners as their own problem, not as normal path segments.
- Make chip evacuation part of the strategy from the start.
- Separate roughing from cleanup when one pass would be doing too much.
Conclusion
Pocket milling goes wrong when the process treats the pocket like a flat open cut with walls added afterward. In reality, the walls, corners, and chip trap behavior define the job. The best strategy is the one that keeps engagement stable, gets chips out, and avoids asking the cutter to survive repeated overload spikes.
If the shop thinks in those terms, pocket milling becomes much easier to debug. The conversation shifts from "what feed should I try next?" to "what is this pocket actually asking the tool to do?" That is the point where Carbide End Mills, smarter toolpaths, and cleaner pocketing all start to line up.
FAQ
What is the best toolpath for pocket milling?
The best toolpath is the one that keeps engagement stable and evacuates chips cleanly for the specific pocket, material, and machine.
Why do pocket corners chatter?
Because effective engagement rises in the corner and overloads a toolpath or setup that sounded stable on the straight sections.
Is adaptive milling always better for pockets?
Not always, but it often helps in more demanding pockets because it controls radial engagement more consistently.
Why does my pocket finish get scratched?
Often because chips are being recut instead of leaving the pocket cleanly.